
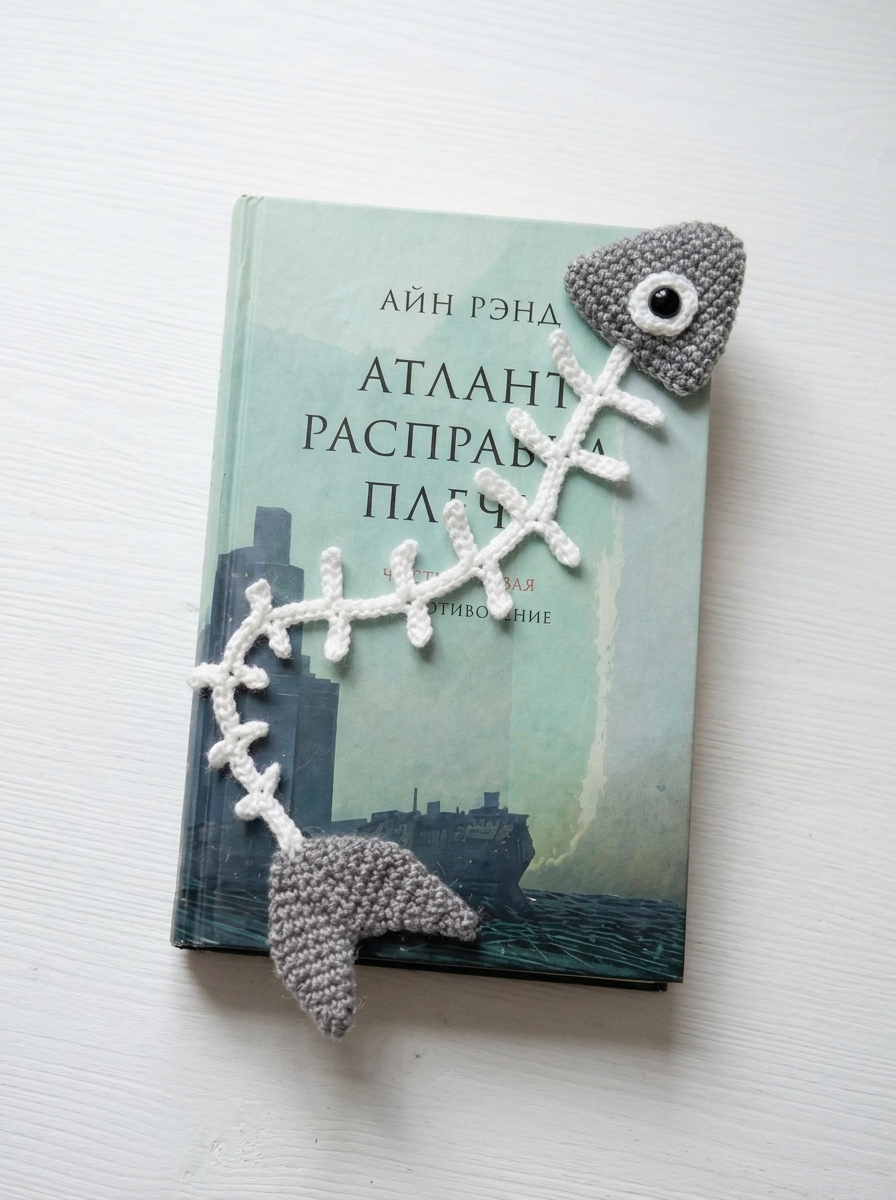
Looking for a unique crochet project that combines creativity, cuteness, and a love of reading? This adorable crochet skeleton bookmark is a fun handmade accessory that will make your reading time even more special!
Inspired by ocean creatures, this unusual bookmark features a little gray head with a large eye, a white branching skeleton, and a cute tail. Its playful design makes it a lovely gift for book lovers, crochet enthusiasts, and anyone who appreciates quirky handmade creations.
The best part? You can make this crochet bookmark using just a small amount of yarn and a few basic crochet stitches.
In this tutorial, I’ll show you how to crochet each part, assemble the bookmark, and create the little details that give it its charming personality.
About This Crochet Bookmark
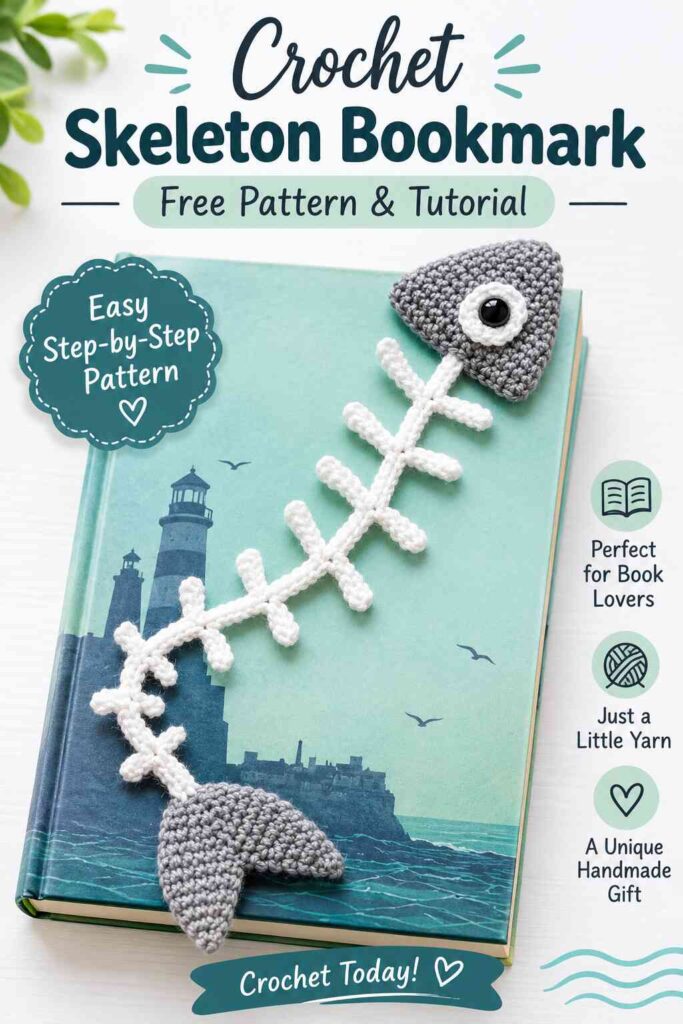
This bookmark is designed as a decorative skeleton-inspired sea creature. It has three main parts:
- The head: A small gray, rounded triangular shape with a white eye and black pupil.
- The skeleton: A white central backbone with small branching ribs on both sides.
- The tail: A gray two-pointed tail fin attached to the opposite end.
The finished bookmark is lightweight, flexible, and perfect for placing between the pages of your favorite book.
Materials You’ll Need
- Gray cotton yarn (DK or light worsted weight)
- White cotton yarn
- Black yarn or one 8 mm safety eye
- 2.5 mm or 3 mm crochet hook
- Yarn needle
- Stitch marker
- Scissors
- Fiberfill stuffing (a very small amount, optional)
Skill level: Advanced beginner
Estimated time: 2–3 hours
Finished size: Approximately 23–27 cm (9–10.5 inches), depending on your yarn and tension.
Crochet Abbreviations (US Terms)
- MR – Magic ring
- CH – Chain
- SC – Single crochet
- SL ST – Slip stitch
- INC – Increase (2 SC in one stitch)
- DEC – Decrease (SC two stitches together)
- FO – Fasten off
- ST – Stitch
- BLO – Back loop only
Part 1: Crochet the Gray Head
The head is worked in rows to create a rounded triangular shape.
Using gray yarn and a 2.5–3 mm hook:
Row 1: CH 2, work 2 SC in the second chain from the hook. (2)
Row 2: CH 1, turn, INC in each stitch. (4)
Row 3: CH 1, turn, SC across. (4)
Row 4: CH 1, turn, INC, SC 2, INC. (6)
Row 5: CH 1, turn, SC across. (6)
Row 6: CH 1, turn, INC, SC 4, INC. (8)
Row 7: CH 1, turn, SC across. (8)
Row 8: CH 1, turn, INC, SC 6, INC. (10)
Row 9: CH 1, turn, SC across. (10)
Row 10: CH 1, turn, SC across. (10)
Row 11: CH 1, turn, DEC, SC 6, DEC. (8)
Row 12: CH 1, turn, DEC, SC 4, DEC. (6)
Row 13: CH 1, turn, DEC, SC 2, DEC. (4)
Row 14: CH 1, turn, DEC twice. (2)
Fasten off and weave in the ends.
Shape the Head
Work one round of SC around the entire outer edge using gray yarn. Place 2–3 SC in each corner to keep the edges smooth.
This creates a neat border and helps the head hold its shape.
Part 2: Make the White Eye
Using white yarn:
Round 1: Make a MR and work 6 SC into the ring. SL ST to join. (6)
Round 2: CH 1, INC in every stitch. SL ST to join. (12)
FO, leaving a long tail for sewing.
Sew the white circle onto the upper-middle area of the gray head.
Add a black safety eye in the center before attaching the white circle, or embroider a small black pupil using black yarn.
If using a safety eye, make sure it is securely attached. For bookmarks intended for young children, embroider the eye instead.
Part 3: Crochet the White Skeleton Backbone
This is the most distinctive part of the bookmark.
Using white yarn and your crochet hook:
Step 1: CH 48.
Step 2: Starting in the second chain from the hook, work 1 SC in each chain across.
You should have 47 SC.
Step 3: Fasten off, leaving long yarn tails at both ends.
This forms the central backbone of your sea-creature bookmark.
Make the Small Skeleton Ribs
The little branches are worked directly from the backbone.
Using white yarn, attach your yarn to a stitch near the beginning of the backbone.
For each branch:
- Insert your hook into the selected backbone stitch.
- Make a SL ST to secure the yarn.
- CH 5.
- Work 4 SL ST back along the chain, starting in the second chain from the hook.
- SL ST into the next backbone stitch.
- Fasten off.
Repeat this process to create approximately 10–12 small branches, alternating between the left and right sides of the backbone.
Leave a few stitches between each branch.
For a more natural skeleton appearance, vary the branch lengths:
- Short branches: CH 4.
- Medium branches: CH 5.
- Longer branches: CH 6.
Make sure the branches point outward rather than all facing in the same direction.
Weave in all loose ends carefully.
Part 4: Crochet the Gray Tail Fin
The tail is made from two pointed lobes joined at the center.
Using gray yarn, make the first lobe:
Row 1: CH 6, SC in the second chain from the hook and across. (5)
Row 2: CH 1, turn, DEC, SC 1, DEC. (3)
Row 3: CH 1, turn, DEC, SC 1. (2)
Row 4: CH 1, turn, DEC. (1)
FO.
Make the Second Lobe
Repeat the same instructions to make another pointed lobe.
Place both lobes next to each other with their wider ends touching.
Using gray yarn, SC along the lower edges and join the two lobes at their central base.
Work a neat border around the outside.
Leave a long yarn tail for attaching the tail to the backbone.
Part 5: Assemble Your Crochet Bookmark
Now it’s time to bring everything together!
- Place the gray head at one end of the white backbone.
- Sew the first end of the backbone securely to the back of the head.
- Attach the gray tail to the opposite end of the backbone.
- Arrange the little white ribs so they spread naturally along both sides.
- Check that the backbone lies flat and does not twist.
- Secure all loose ends and trim excess yarn.
Your adorable crochet skeleton bookmark is now complete!
Tips for the Best Results
- Use cotton yarn for a neat, defined stitch texture.
- Keep your stitches consistent, especially when making the small head and tail.
- Avoid making the white skeleton too thick, as the bookmark should remain flexible.
- Use a smaller crochet hook if you want a tighter finish.
- Make sure all sewing ends are securely hidden.
- You can use different shades of gray to give your bookmark a personalized look.
Customization Ideas
You can easily change the colors and details to create your own version.
- Blue ocean version: Use light blue yarn for the head and tail.
- Pastel version: Try soft pink, lavender, or mint green.
- Cute character version: Add two embroidered eyes and a tiny smile.
- Halloween version: Use black and white yarn for a spooky skeleton bookmark.
- Personalized gift: Add a small crocheted heart or a decorative tassel.
Frequently Asked Questions
1. Is this crochet bookmark suitable for beginners?
Yes! The individual parts use basic stitches such as single crochet, chain stitches, increases, and decreases. Beginners may need a little patience when assembling the skeleton branches.
2. What yarn is best for this bookmark?
Cotton yarn is a great choice because it creates defined stitches and keeps the bookmark lightweight.
3. How long does it take to make?
Most crocheters can finish this project in approximately 2–3 hours, depending on their experience and speed.
4. Can I make the bookmark longer?
Absolutely! Simply increase the number of chains in the central backbone and add more skeleton branches.
5. Can I sell finished bookmarks made from this pattern?
You can make finished handmade bookmarks to sell. If sharing or publishing this written pattern, please credit the designer of your pattern source.
Final Thoughts
This cute crochet skeleton bookmark is a delightful combination of creativity and practicality. Its unusual sea-creature-inspired design makes it stand out from traditional crochet bookmarks, and it’s a wonderful way to use leftover yarn.
Whether you’re making one for yourself, preparing a handmade gift for a book lover, or adding a new project to your crochet collection, this little bookmark is sure to bring a smile to someone’s face.
Happy crocheting!