
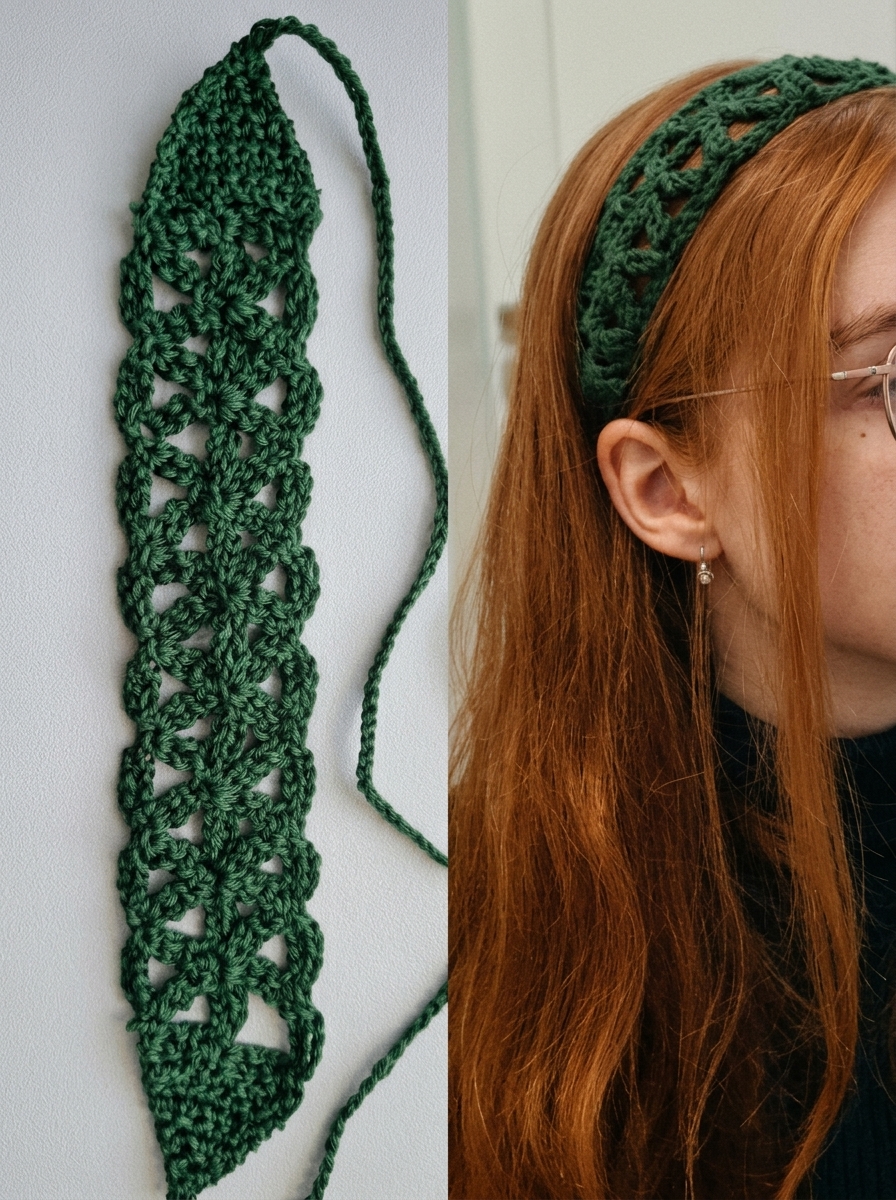
Looking for a beautiful and easy crochet accessory to add a handmade touch to your outfit? This Crochet Lace Headband Pattern is a lovely project that combines delicate openwork stitches, pretty pointed ends, and adjustable crochet ties.
This feminine crochet headband features a beautiful repeating lace pattern that creates small decorative openings throughout the band. The pointed ends give it a unique finish, while the long crochet ties make it easy to adjust for a comfortable fit.
Whether you are making something special for yourself, preparing a handmade gift, or looking for a quick crochet project to use up leftover yarn, this headband is a wonderful choice.
The pattern uses basic crochet stitches and simple stitch combinations, making it suitable for adventurous beginners and intermediate crocheters.
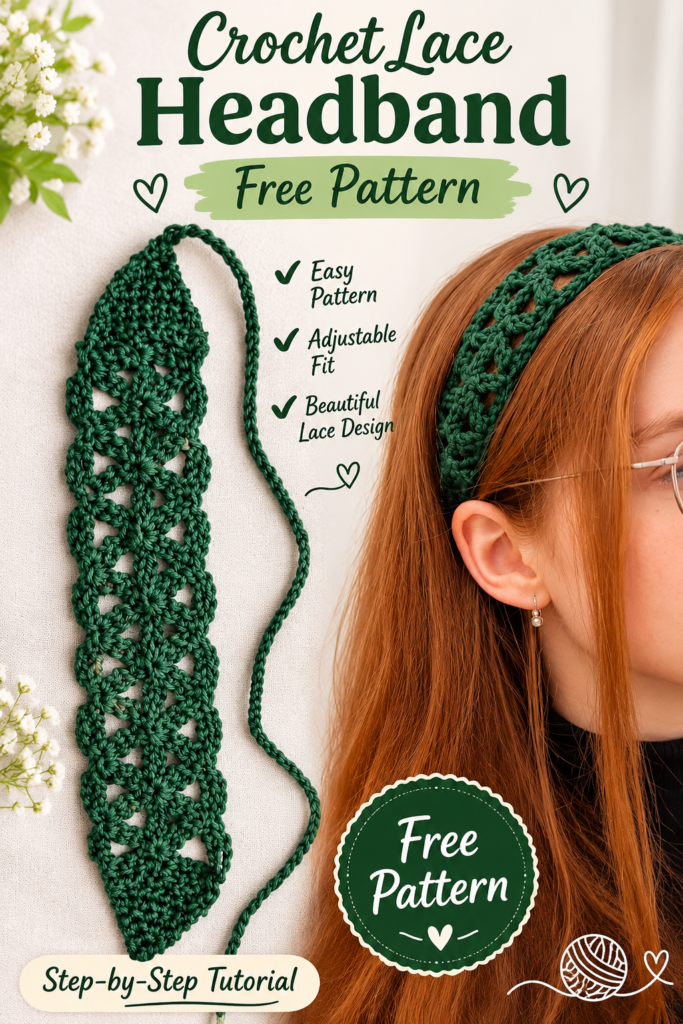
Why You’ll Love This Crochet Headband
- Beautiful lace design: The openwork pattern creates a delicate and feminine appearance.
- Adjustable fit: Long crochet ties allow you to customize the headband to your head size.
- Beginner-friendly techniques: Uses basic crochet stitches and simple clusters.
- Lightweight and comfortable: Perfect for everyday wear, spring, and summer.
- Quick project: A lovely small crochet project that doesn’t require much yarn.
- Customizable: Easily change the yarn color to match your wardrobe.
Finished Size
The finished headband measures approximately:
- Length of lace section: 14–16 inches (35.5–40.5 cm)
- Width: 2–2.5 inches (5–6.5 cm)
- Each tie: 10–12 inches (25–30 cm)
The finished size can be adjusted by adding or removing pattern repeats.
Materials You’ll Need
- Medium-weight cotton yarn (Category 3 or 4)
- Crochet hook: 3.5 mm or 4 mm
- Scissors
- Yarn needle
- Stitch markers (optional)
Recommended yarn: Soft cotton or cotton-blend yarn works especially well because it helps the lace pattern keep its shape.
Crochet Abbreviations (US Terms)
- ch – Chain
- sc – Single crochet
- dc – Double crochet
- sl st – Slip stitch
- st – Stitch
- sts – Stitches
- sp – Space
- sk – Skip
- rep – Repeat
- dc3tog – Double crochet three stitches together
Special Stitches
3-DC Cluster: Work 3 double crochet stitches into the same chain space.
Lace Space: A chain-3 space created between single crochet stitches.
Pointed End: A solid triangular section made by gradually increasing or decreasing stitches.
Gauge
Approximately 16 single crochet stitches and 18 rows = 4 inches (10 cm).
Gauge is not critical for this project, but keeping your stitches even will help create a neat headband.
Free Crochet Lace Headband Pattern
The headband is worked in three sections:
- First pointed end.
- Repeating lace band.
- Second pointed end.
Finally, two crochet ties are added to make the headband adjustable.
Part 1: Crochet the First Pointed End
Start with your chosen yarn and crochet hook.
Row 1: Ch 2. Work 2 sc into the second ch from the hook. (2 sts)
Row 2: Ch 1, turn. Work 2 sc in the first st, sc in the next st. (3 sts)
Row 3: Ch 1, turn. Work 2 sc in the first st, sc across until 1 st remains, 2 sc in the last st. (5 sts)
Row 4: Ch 1, turn. Work 2 sc in the first st, sc across until 1 st remains, 2 sc in the last st. (7 sts)
Row 5: Repeat Row 4. (9 sts)
Row 6: Repeat Row 4. (11 sts)
Row 7: Repeat Row 4. (13 sts)
You now have a small solid triangular end.
Part 2: Crochet the Lace Headband Section
The lace section creates the decorative openwork design.
Row 1: Ch 3, turn. Work 1 dc in the next st and 1 dc in each remaining st across. (13 dc)
Row 2: Ch 1, turn. Sc in the first st, ch 3, sk 2 sts, sc in the next st. Repeat from * across.
Row 3: Ch 3, turn. Work 3 dc into each ch-3 space across. Work 1 dc in the final sc.
Row 4: Ch 1, turn. Sc in the first dc, ch 3, sk the next 3 dc, sc in the next dc. Repeat from * across.
Row 5: Ch 3, turn. Work 3 dc into each ch-3 space across. Work 1 dc in the final sc.
Rows 6–29: Repeat Rows 4 and 5 until the lace section measures approximately 14–16 inches, or your desired length.
Keep the edges neat and make sure the lace spaces remain open.
Tip: If you want a longer headband, add more repeats of Rows 4 and 5. For a shorter headband, use fewer repeats.
Part 3: Crochet the Second Pointed End
After completing the lace section, work the second pointed end.
Decrease gradually to create a matching triangular shape.
Row 1: Ch 1, turn. Sc in the first stitch, then sc across the row. (13 sts)
Row 2: Ch 1, turn. Sc2tog, sc across until 2 sts remain, sc2tog. (11 sts)
Row 3: Ch 1, turn. Sc2tog, sc across until 2 sts remain, sc2tog. (9 sts)
Row 4: Repeat Row 3. (7 sts)
Row 5: Repeat Row 3. (5 sts)
Row 6: Repeat Row 3. (3 sts)
Row 7: Repeat Row 3. (1 st)
Fasten off and weave in the yarn end.
You should now have a long lace headband with two tapered pointed ends.
Part 4: Make the Adjustable Crochet Ties
Now add the ties to both pointed ends.
Attach your yarn to the tip of the first pointed end.
Tie 1:
- Ch 55–65, or until the tie measures approximately 10–12 inches.
- Work 1 sl st into the second chain from the hook.
- Continue working sl st in each chain across.
- Fasten off and weave in the end.
Repeat the same process at the opposite pointed end to make the second tie.
You can make the ties longer if you prefer to tie a bow at the back of your head.
Part 5: Finishing
- Weave in all loose yarn ends.
- Gently stretch the lace section to open the decorative spaces.
- Lightly steam block the headband if your yarn allows it.
- Make sure both ties are approximately the same length.
Your beautiful handmade crochet lace headband is ready!
How to Wear Your Crochet Lace Headband
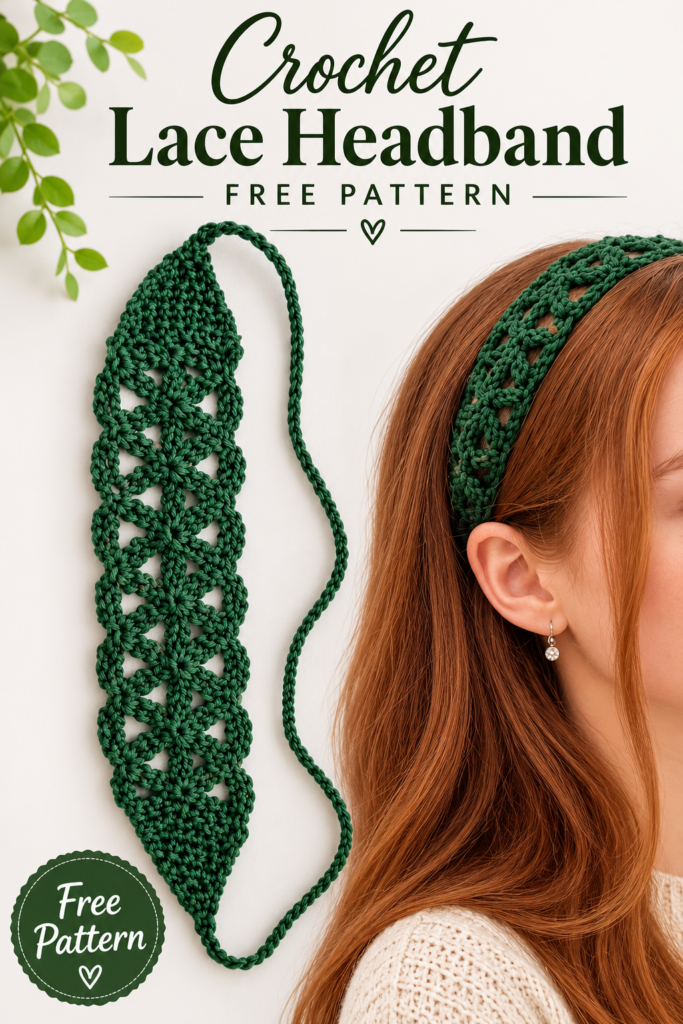
This headband is a versatile accessory that can be styled in several ways.
- Wear it over loose hair for a romantic bohemian look.
- Style it with a ponytail for an effortless everyday hairstyle.
- Tie a small bow at the back for a feminine finish.
- Pair it with summer dresses, casual outfits, or beachwear.
The lace design looks especially beautiful in burgundy, dusty rose, cream, beige, and soft pastel shades.
Tips for Making the Perfect Crochet Headband
1. Choose the right yarn
Cotton yarn is a great choice because it is breathable, lightweight, and comfortable against your hair.
2. Keep your tension consistent
Try to maintain even tension throughout the lace section so the headband doesn’t become wavy or uneven.
3. Adjust the length
Measure the headband around your head before finishing the ties. Remember that the ties provide additional adjustment.
4. Block your finished project
Light blocking helps open the lace stitches and makes the pattern look more defined.
5. Experiment with colors
Try different shades to create a collection of handmade crochet accessories.
Frequently Asked Questions
Is this crochet headband suitable for beginners?
Yes! The pattern uses basic stitches such as single crochet, double crochet, and chains. Beginners who know these stitches can practice creating the lace design.
How much yarn do I need?
Approximately 40–60 grams of medium-weight yarn should be enough, depending on the finished size, yarn thickness, and tie length.
Can I use cotton yarn?
Absolutely! Cotton yarn is an excellent choice for this project because it is soft, breathable, and helps the headband maintain its shape.
Can I make the headband wider?
Yes. You can increase the width by adding stitches to the starting triangle and adjusting the lace rows accordingly.
Can I make it for a child?
Yes. Simply reduce the length of the lace section and make shorter ties to achieve a comfortable fit.
Can I sell finished headbands made from this pattern?
Yes, you can sell your handmade finished headbands. Please credit the pattern source when sharing the instructions.
Final Thoughts
This crochet lace headband is a lovely way to create a stylish handmade accessory using basic crochet techniques. Its delicate openwork stitches, pointed ends, and adjustable ties make it both practical and beautiful.
Make one in your favorite color, or crochet several as thoughtful handmade gifts for friends and family.
If you enjoyed this free crochet pattern, save it to your Pinterest boards so you can find it again later. Happy crocheting!
SEO Information
- SEO Title: Easy Crochet Lace Headband Pattern – Free Pattern with Ties
- Focus Keyword: Crochet Lace Headband Pattern
- Secondary Keywords: Crochet Headband Pattern, Crochet Headband with Ties, Easy Crochet Headband, Lace Crochet Headband, Boho Crochet Headband, DIY Crochet Accessories
- Meta Description: Learn how to make a beautiful crochet lace headband with this free pattern. Includes delicate openwork stitches, pointed ends, and adjustable ties.
- Suggested URL Slug: crochet-lace-headband-pattern
- Category: Crochet Patterns
- Pinterest Title: Easy Crochet Lace Headband Pattern with Adjustable Ties
- Pinterest Description: Make this beautiful crochet lace headband with a free step-by-step pattern! Featuring delicate openwork stitches, pointed ends, and adjustable ties. A lovely handmade accessory for everyday outfits and summer styling.