
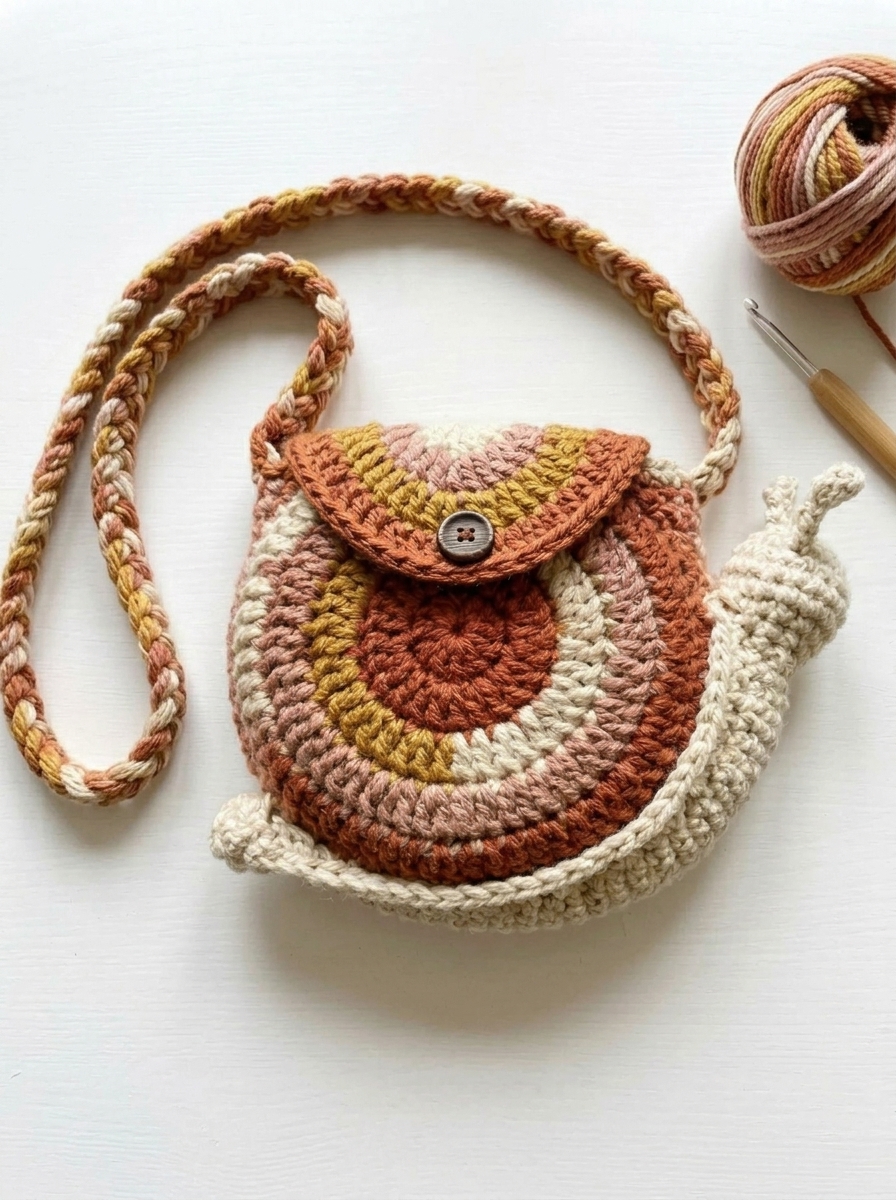
Looking for a unique crochet bag pattern that’s both beautiful and practical? This adorable Boho Crochet Round Crossbody Bag is the perfect handmade accessory for anyone who loves colorful yarn, textured stitches, and vintage-inspired designs!
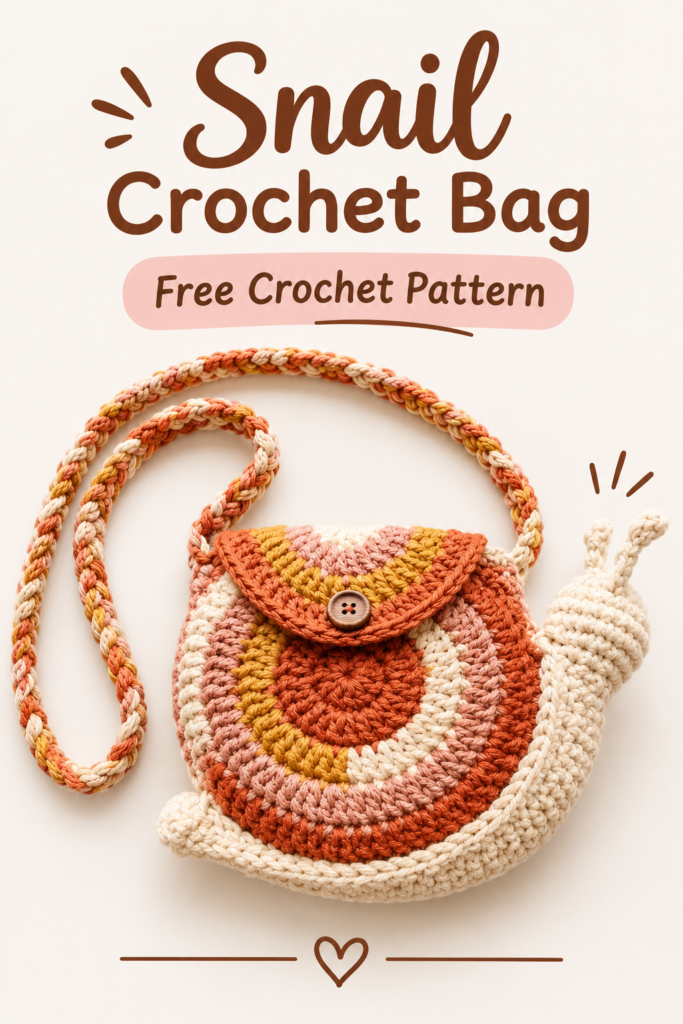
This charming crochet purse features a round body with beautiful concentric color rings in warm rust, mustard yellow, dusty pink, and creamy white. It also has a curved button flap, a lovely braided crochet shoulder strap, and a soft cream-colored side gusset.
Whether you’re making a special handmade gift, creating accessories for your small crochet business, or simply treating yourself to a new bag, this crochet pattern is a fun and rewarding project.
The pattern uses basic crochet stitches and simple shaping techniques, making it suitable for adventurous beginners and intermediate crocheters.
About This Crochet Bag
This handmade crochet crossbody bag combines a classic round silhouette with modern bohemian colors.
The circular front panel is worked in rounds, changing colors to create beautiful rainbow-like rings. A separate back panel and side gusset give the bag its shape and provide enough room for everyday essentials.
The decorative flap folds over the top and closes with a small wooden button. Finally, a braided crochet strap completes the design.
Pattern features:
- Beautiful round crochet bag design.
- Colorful concentric circular pattern.
- Textured double crochet stitches.
- Rounded crochet flap with button closure.
- Cream-colored crochet side gusset.
- Handmade braided shoulder strap.
- Perfect for everyday use, gifts, and market accessories.
Finished Measurements
- Bag width: Approximately 22 cm (8.5 inches).
- Bag height: Approximately 22 cm (8.5 inches).
- Bag depth: Approximately 5–6 cm (2–2.5 inches).
- Strap length: Approximately 110–120 cm (43–47 inches).
- Flap length: Approximately 9–10 cm (3.5–4 inches).
Measurements may vary depending on your yarn, hook size, and tension.
Materials You’ll Need
- Worsted-weight cotton or cotton-blend yarn.
- Crochet hook: 4 mm (G/6).
- 1 wooden or decorative button, approximately 2 cm.
- Yarn needle.
- Stitch markers.
- Scissors.
- Measuring tape.
Yarn Colors
Choose five coordinating colors inspired by the photograph:
- Color A: Rust or terracotta.
- Color B: Mustard yellow.
- Color C: Cream or ivory.
- Color D: Dusty pink.
- Color E: Warm brown or deeper terracotta.
You will need approximately 250–300 grams of yarn in total, depending on your strap length and tension.
Crochet Abbreviations (US Terms)
- ch = Chain
- sl st = Slip stitch
- sc = Single crochet
- hdc = Half double crochet
- dc = Double crochet
- inc = Increase (2 stitches in the same stitch)
- dec = Decrease
- st = Stitch
- sts = Stitches
- rep = Repeat
- sp = Space
- rnd = Round
Skill Level
Adventurous beginner to intermediate.
You should be comfortable with:
- Making a magic ring.
- Working in joined rounds.
- Double crochet increases.
- Changing yarn colors.
- Working in rows.
- Joining crochet pieces together.
Gauge
Approximately 16 dc stitches and 9 rounds = 10 cm (4 inches).
Gauge is not critical, but try to keep your stitches consistent so both circular panels are the same size.
FULL CROCHET PATTERN
Part 1: Crochet the Front Circular Panel
The front panel creates the beautiful colorful circular design.
Begin with Color A (rust).
Round 1: Make a magic ring. Ch 2 (does not count as a stitch), work 12 dc into the ring. Join with a sl st to the first dc. (12 sts)
Round 2: Ch 2. Work 2 dc in each stitch around. Join. (24 sts)
Round 3: Change to Color B (mustard). Ch 2. 1 dc in next st, 2 dc in next st. Repeat around. Join. (36 sts)
Round 4: Continue with Color B. Ch 2. 1 dc in next 2 sts, 2 dc in next st. Repeat around. Join. (48 sts)
Round 5: Change to Color C (cream). Ch 2. 1 dc in next 3 sts, 2 dc in next st. Repeat around. Join. (60 sts)
Round 6: Change to Color D (dusty pink). Ch 2. 1 dc in next 4 sts, 2 dc in next st. Repeat around. Join. (72 sts)
Round 7: Continue with Color D. Ch 2. 1 dc in next 5 sts, 2 dc in next st. Repeat around. Join. (84 sts)
Round 8: Change to Color E (terracotta). Ch 2. 1 dc in next 6 sts, 2 dc in next st. Repeat around. Join. (96 sts)
Round 9: Continue with Color E. Ch 2. Work 1 dc in each stitch around. Join. (96 sts)
Fasten off and weave in all loose ends.
You should now have a beautiful flat circular panel with colorful concentric rings.
Tip: Always change colors at the final yarn-over of the previous round for cleaner color transitions.
Part 2: Crochet the Back Panel
The back panel is worked in the same way as the front panel.
For a coordinated look, repeat Rounds 1–9 using the same color sequence.
Alternatively, use a single solid color, such as cream, rust, or dusty pink, for a simpler finish.
Make sure both panels have the same number of stitches and approximately the same diameter.
Fasten off and set aside.
Part 3: Crochet the Side Gusset
The side gusset creates the depth of the bag and connects the front and back circular panels.
Use Color C (cream).
Ch 11.
Row 1: Sc in the second ch from hook and in each ch across. (10 sts)
Rows 2–96: Ch 1, turn, sc in each stitch across. (10 sts)
Do not fasten off until you have checked the length.
The strip should measure approximately the circumference of your circular panels. Depending on your gauge, you may need a few more or fewer rows.
To check, gently wrap the strip around the outside edge of one circular panel. It should fit without stretching or bunching.
Fasten off, leaving a long tail for sewing.
Attach the Gusset
- Place the front panel and gusset together with their right sides facing each other.
- Match the long edge of the gusset with the outer edge of the circular panel.
- Use stitch markers to distribute the strip evenly.
- Sew around using a yarn needle and whip stitch.
- Repeat with the back panel on the opposite long edge.
Leave an opening along the upper edge for the bag opening.
Turn the bag right side out.
You now have a structured round crochet bag with a lovely cream-colored side.
Part 4: Crochet the Rounded Flap
Use Color A, B, C, D, and E to create a small colorful flap that matches the front panel.
The flap is worked in rows, starting with a wide straight edge and gradually decreasing to create a rounded shape.
Using Color E (terracotta), ch 49.
Row 1: Dc in the third ch from hook and in each ch across. (47 dc)
Row 2: Ch 2, turn. Dc2tog over the first 2 stitches, dc across until 2 stitches remain, dc2tog over the last 2 stitches. (45 sts)
Row 3: Change to Color D. Ch 2, turn. Dc in each stitch across. (45 sts)
Row 4: Ch 2, turn. Dc2tog, dc across until 2 stitches remain, dc2tog. (43 sts)
Row 5: Change to Color C. Ch 2, turn. Dc in each stitch across. (43 sts)
Row 6: Ch 2, turn. Dc2tog at the beginning and end of the row. (41 sts)
Row 7: Change to Color B. Ch 2, turn. Dc in each stitch across. (41 sts)
Row 8: Ch 2, turn. Dc2tog at the beginning and end of the row. (39 sts)
Row 9: Change to Color A. Ch 2, turn. Dc in each stitch across. (39 sts)
Row 10: Ch 2, turn. Dc2tog at the beginning and end of the row. (37 sts)
Row 11: Ch 1, turn. Sc in each stitch across.
Fasten off.
Finish the Flap Edging
Attach Color C (cream) around the flap.
Work one round of sc evenly around the sides and curved edge. Place 2 sc in the corners if needed to keep the edging flat.
Fasten off and weave in the ends.
Attach the Flap
Position the straight edge of the flap at the upper back section of the bag.
Use stitch markers to center it.
Sew the straight edge securely to the back panel, making sure the flap folds comfortably over the front opening.
Part 5: Make the Braided Crochet Shoulder Strap
The braided strap is one of the prettiest details of this bag!
You will make three long crochet cords and braid them together.
Choose your favorite combination of the five yarn colors.
Make Three Crochet Cords
For each cord:
- Ch 180, or adjust the chain length to your desired strap length.
- Sl st into the second chain from hook and continue across the chain.
- Fasten off, leaving a long tail at both ends.
Make three cords.
If you prefer a thicker strap, work a second row of slip stitches along each cord.
Braid the Strap
- Align the three cords at one end.
- Secure them temporarily with a stitch marker or clip.
- Braid the cords together, keeping the tension even.
- Secure the opposite end.
- Sew the ends together firmly.
Adjust the length before attaching it to your bag.
Attach the Strap
Attach one end of the braided strap to each upper side of the bag.
Use strong sewing stitches and reinforce each attachment point several times.
Make sure both sides are secure before carrying the bag.
Part 6: Crochet the Button Loop
Use Color C or Color A.
Ch 12.
Sl st into the first chain to create a small loop.
Fasten off, leaving a long tail.
Fold the loop in half and sew both ends securely to the center of the flap’s lower edge.
Position the loop so it fits comfortably around your chosen button.
Part 7: Sew on the Wooden Button
Place the bag flap over the front of the bag.
Mark the correct position for the button.
Sew the wooden button securely onto the front panel, making sure the button loop fits around it without pulling.
Your crochet bag now has a practical and decorative closure!
Part 8: Final Finishing Touches
- Weave in all remaining yarn ends.
- Check the seams around the gusset.
- Make sure the strap is attached firmly.
- Adjust the button loop if necessary.
- Gently shape the circular panels with your hands.
- Steam lightly only if your yarn care instructions allow it.
Your beautiful boho crochet crossbody bag is ready!
Helpful Tips for Making the Perfect Crochet Bag
1. Choose the Right Yarn
Cotton yarn is an excellent choice because it gives the bag good stitch definition and helps it hold its shape.
Cotton-blend yarn is another lovely option.
2. Keep Your Circular Panels Flat
When crocheting the circles, make sure your increases are evenly distributed.
If your circle starts curling, your stitches may be too tight or you may need more increases. If it becomes wavy, you may have too many increases.
3. Use Stitch Markers
Stitch markers are especially helpful when making the side gusset and attaching the circular panels.
They help distribute the stitches evenly and prevent the bag from becoming twisted.
4. Reinforce the Strap
The strap carries the weight of the bag, so sew it securely at both ends. For extra durability, you can add fabric reinforcement or a lining.
5. Add a Fabric Lining
If you plan to use your bag every day, adding a fabric lining is a wonderful idea.
It prevents small belongings from slipping through the crochet stitches and gives the bag a more professional finish.
Customization Ideas
One of the best things about this crochet bag is how easy it is to personalize!
Try these ideas:
- Vintage style: Use rust, mustard, cream, and dusty pink.
- Neutral style: Combine beige, ivory, taupe, and brown.
- Summer style: Choose coral, yellow, turquoise, and white.
- Bohemian style: Add wooden beads or decorative tassels.
- Romantic style: Use soft pink, lavender, and cream.
- Modern style: Make the entire bag in one solid color.
You can also change the strap length to create a shoulder bag instead of a crossbody bag.
Frequently Asked Questions
Is this crochet bag suitable for beginners?
Yes! Adventurous beginners can make this bag with basic knowledge of double crochet, single crochet, increases, decreases, and joining crochet pieces.
What yarn is best for a crochet crossbody bag?
Cotton or cotton-blend yarn is recommended because it is durable, washable according to its care label, and provides excellent stitch definition.
Can I make this bag bigger?
Absolutely! Add more increase rounds to both circular panels, maintaining 12 additional stitches per round. You will also need to adjust the length of the gusset and the width of the flap.
Can I make the strap shorter?
Yes. Simply reduce the starting chain length of each strap cord. Measure the braided strap before attaching it to the bag.
Does this crochet bag need a lining?
A lining is optional, but it is highly recommended if you plan to carry small items or heavier belongings.
How long does it take to crochet this bag?
Depending on your crochet speed and experience, you can expect to spend approximately 6–10 hours making the bag.
Final Thoughts
This beautiful boho crochet round crossbody bag is a lovely combination of color, texture, and handmade charm.
From its colorful circular design to its rounded button flap and braided shoulder strap, every detail makes this bag a special accessory.
The best part is that you can customize the colors, size, and strap length to create a bag that reflects your own personal style.
Whether you make it for yourself, give it as a handmade gift, or add it to your crochet collection, this free crochet bag pattern is a wonderful project to enjoy.
Happy crocheting!