
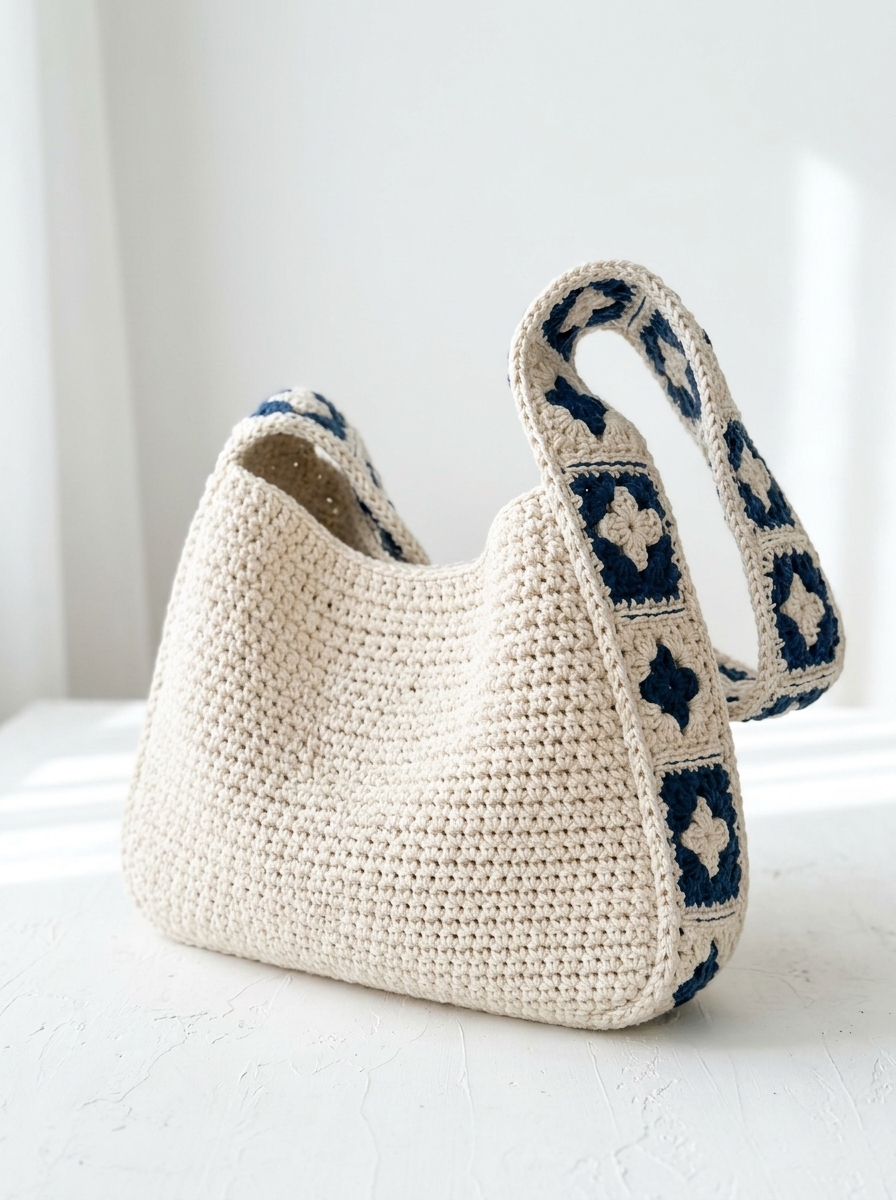
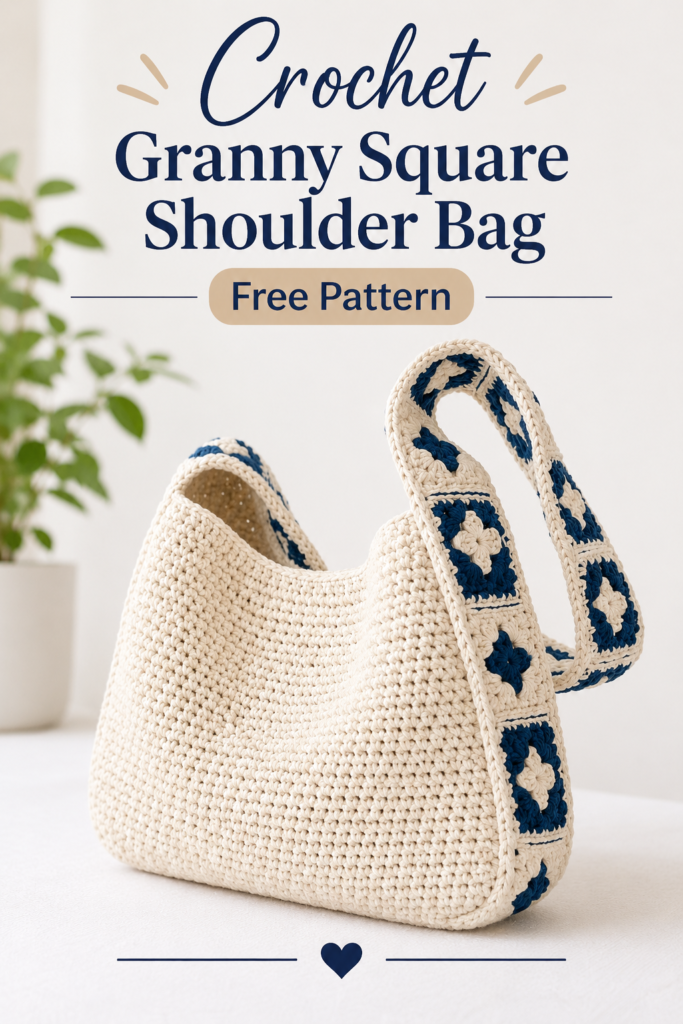
Looking for a beautiful crochet bag that combines timeless style with handmade charm? This Crochet Granny Square Shoulder Bag is a lovely project for anyone who enjoys creating practical and stylish crochet accessories.
This bag features a soft, cream-colored crochet body with a beautiful textured stitch, navy blue and cream floral granny squares along the sides, and matching decorative shoulder straps. Its roomy shape makes it perfect for everyday use, shopping trips, beach days, or carrying your favorite essentials.
The combination of neutral cream yarn and deep navy blue details gives this handmade bag a classic look that pairs beautifully with casual and summer outfits.
In this tutorial, I’ll show you how to crochet the bag step by step, including the main body, floral granny squares, side panels, and comfortable shoulder straps.
Save this free crochet bag pattern and make one for yourself or as a thoughtful handmade gift!
About This Crochet Bag Pattern
- Pattern Name: Crochet Granny Square Shoulder Bag
- Skill Level: Easy to Intermediate
- Project Type: Crochet Bag / Shoulder Bag
- Construction: Separate front and back panels, granny square side panels, and decorative straps
- Language: US Crochet Terms
- Pattern Format: Written step-by-step instructions
Finished Bag Measurements
The finished bag measures approximately:
- Width: 15 inches (38 cm)
- Height: 12 inches (30 cm)
- Depth: 4.5 inches (11.5 cm)
- Shoulder strap length: 22 inches (56 cm)
- Strap width: 2.5 inches (6.5 cm)
You can adjust the dimensions by adding or removing rows.
Materials You’ll Need
- Worsted weight cotton yarn in cream or ivory (approximately 450–500 yards)
- Worsted weight cotton yarn in navy blue (approximately 150–200 yards)
- 4.5 mm crochet hook
- Scissors
- Yarn needle
- Stitch markers
- Measuring tape
Optional materials:
- Fabric lining
- Magnetic bag snap
- Sewing needle and matching thread
Cotton yarn is recommended because it creates a sturdy fabric that holds its shape well.
Crochet Abbreviations (US Terms)
- ch – Chain
- sl st – Slip stitch
- sc – Single crochet
- hdc – Half double crochet
- dc – Double crochet
- st – Stitch
- sts – Stitches
- sp – Space
- rep – Repeat
- rnd – Round
- sk – Skip
- inc – Increase
Gauge
Approximately 16 single crochet stitches and 18 rows = 4 inches (10 cm).
Gauge is not essential for this project, but checking it will help you achieve the intended finished measurements.
Part 1: Crochet the Front Bag Panel
The front and back panels are worked in cream yarn using single crochet stitches. This creates the dense, textured fabric seen in the finished bag.
With cream yarn and a 4.5 mm hook:
Foundation:
Chain 61.
Row 1: Sc in the second chain from the hook and in each chain across. (60 sts)
Row 2: Ch 1, turn. Sc in each stitch across. (60 sts)
Rows 3–54: Ch 1, turn. Sc in each stitch across. (60 sts)
Fasten off and weave in the ends.
Your panel should measure approximately 15 inches wide and 12 inches tall.
Part 2: Crochet the Back Bag Panel
Repeat Part 1 to make an identical second panel.
You should now have two cream-colored rectangular panels.
Tip: Keep your tension consistent so the front and back panels have the same dimensions.
Part 3: Crochet the Floral Granny Squares
The navy and cream floral granny squares are the decorative feature of this bag. You will make six squares in total, three for each side panel.
Each square should measure approximately 4.5 inches.
Round 1: Create the Flower Center
Using cream yarn:
- Make a magic ring.
- Ch 3 (counts as the first dc).
- Work 2 dc into the ring.
- Ch 3 and sl st into the ring to create the first petal.
- Repeat the petal sequence three more times.
- Pull the magic ring closed and join with a sl st.
You should have four small cream-colored petals.
Round 2: Create the Navy Background
Join navy yarn in a space between two petals.
For each petal, work:
- Sc around the petal.
- Ch 2 to separate the petals.
Continue around all four petals and join with a sl st.
Round 3: Form the Granny Square
Continue with navy yarn.
Work granny clusters around the flower motif:
- 3 dc in the first corner space, ch 2, 3 dc in the same space.
- Work 3 dc in each side space.
- At the next corner, work 3 dc, ch 2, 3 dc.
Repeat around to form four corners.
Join with a sl st.
Round 4: Add the Cream Border
Join cream yarn in any corner space.
Work:
- 3 dc, ch 2, 3 dc in each corner.
- 3 dc in each side space.
Join with a sl st and fasten off.
Adjust the final round with additional stitches if needed to reach approximately 4.5 inches.
Repeat until you have six matching floral granny squares.
Part 4: Assemble the Side Panels
You will need three granny squares for each side of the bag.
Arrange three squares vertically:
- One square at the top.
- One square in the middle.
- One square at the bottom.
Join the squares using cream yarn and slip stitches or the mattress stitch.
Repeat for the other side.
You should now have two long decorative side panels.
Each side panel should measure approximately 4.5 inches wide and 13.5 inches tall.
Part 5: Crochet the Bag Bottom
Using cream yarn:
Foundation: Ch 16.
Row 1: Sc in the second chain from the hook and across. (15 sts)
Rows 2–54: Ch 1, turn, sc in each stitch across.
Continue until the strip measures approximately 15 inches long.
Fasten off.
This rectangular piece will form the bottom of your bag and help create its roomy shape.
Part 6: Assemble the Bag
Now it’s time to bring all the pieces together.
Lay the front panel flat with the right side facing up.
- Attach one decorative granny square side panel to the right edge of the front panel.
- Attach the second decorative side panel to the left edge.
- Join the bottom edges of both side panels to the bag bottom.
- Attach the back panel to the remaining edges.
- Use slip stitches or a mattress stitch to join the pieces neatly.
You can also use single crochet stitches around the seams for extra strength.
Make sure the corners are securely joined.
Once assembled, the bag should have a roomy rectangular shape with a cream body and floral navy side details.
Part 7: Crochet the Decorative Shoulder Straps
The straps feature cream borders and navy floral granny square details.
Make two matching straps.
Step 1: Make the Strap Motifs
For each strap, crochet four floral granny squares using the instructions in Part 3.
Join the four squares in a line using cream yarn.
Repeat to make the second strap.
Step 2: Add the Cream Strap Edges
Join cream yarn along one long edge of the strap.
Row 1: Ch 1, sc evenly along the edge.
Rows 2–4: Ch 1, turn, sc in each stitch across.
Repeat on the opposite long edge.
This creates a neat cream border and helps reinforce the straps.
Step 3: Attach the Straps
Position one strap at the front and back of the bag, with its ends evenly spaced.
Use cream yarn and a yarn needle to sew each strap end securely to the upper edge of the bag.
Repeat with the second strap.
Reinforce each attachment point with several rows of stitching.
Important: Check that both straps are attached at equal heights and that the bag hangs evenly before finishing.
Part 8: Finish the Top Edge
Join cream yarn at the top opening.
Work one or two rounds of single crochet evenly around the entire opening.
Join with a slip stitch and fasten off.
This creates a clean, sturdy top edge.
Weave in all remaining yarn ends.
Part 9: Optional Bag Lining
If you want your crochet bag to be more structured, you can add a simple fabric lining.
- Measure the inside of your finished bag.
- Cut two fabric pieces for the front and back.
- Cut fabric pieces for the sides and bottom.
- Sew the fabric pieces together to create a lining.
- Fold the top edge inward and press.
- Place the lining inside the crochet bag.
- Hand-sew it carefully along the top edge.
A magnetic snap can also be added to keep your belongings secure.
Tips for Making the Perfect Crochet Shoulder Bag
1. Choose sturdy cotton yarn
Cotton yarn helps the bag maintain its shape and makes it suitable for everyday use.
2. Keep your stitches tight
A dense single crochet fabric helps prevent small items from slipping through the stitches.
3. Make matching granny squares
Try to keep all six side squares and the strap motifs the same size.
4. Reinforce the handles
The shoulder straps carry the weight of the bag, so make sure the attachment points are securely sewn.
5. Add a lining
A fabric lining is optional, but it helps prevent stretching and gives the bag a more professional finish.
Color Ideas for Your Crochet Granny Square Bag
The cream and navy combination creates a beautiful classic look, but you can experiment with other color combinations.
- Cream and dusty blue for a soft summer look.
- Beige and chocolate brown for a warm neutral style.
- White and sage green for a fresh, natural look.
- Ivory and burgundy for an elegant handmade accessory.
- Cream and pastel pink for a feminine design.
Frequently Asked Questions
Is this crochet bag suitable for beginners?
This pattern is suitable for confident beginners who know basic crochet stitches, how to work granny squares, and how to join crochet pieces. Beginners can take their time and complete each section separately.
What yarn is best for a crochet shoulder bag?
Worsted weight cotton yarn is a great choice because it is durable, strong, and helps the finished bag hold its shape.
Can I make this crochet bag bigger?
Yes! Add more rows to the front and back panels to increase the height. You can also increase the number of granny squares in the side panels to make the bag wider.
Can I use acrylic yarn?
Yes, but cotton yarn is generally better for bags because it stretches less and provides a firmer finish.
How many granny squares do I need?
For this design, make six floral granny squares for the two side panels and eight additional squares for the two decorative straps, for a total of 14 squares.
Can I add a zipper?
Yes. You can sew a zipper along the inside of the top opening before adding the final finishing details.
Final Thoughts
This Crochet Granny Square Shoulder Bag is a beautiful combination of traditional crochet techniques and modern everyday style. The simple cream body makes the floral navy squares stand out, while the decorative straps give the bag its special handmade character.
Whether you’re making it for yourself, giving it as a gift, or adding it to your handmade collection, this project is a wonderful way to enjoy crochet while creating something practical and stylish.
I hope you enjoy making your own version of this beautiful crochet bag!
Happy crocheting!