
Ever found yourself scrambling in the kitchen on a busy weeknight with little time and a pantry that’s barely cooperating? Kataifi dough can be your unexpected ally in those moments. This delicate, shredded filo dough brings effortless texture and elegance to dishes without demanding hours of prep. If you love experimenting with Middle Eastern-inspired recipes, you might also enjoy our Baklava Cream Sandwich Cookies, which share some of the same enchanting layers and crunch.
Is Kataifi dough Worth Making?
After testing this dough several times, I found it’s especially useful for cooks who want flaky, crisp pastry but don’t have a stash of filo sheets. The texture achieved is light and airy, with just the right amount of crispness. One surprising discovery was how resting the batter produced a better strand formation—something I hadn’t expected on my first try.
- Ready in under 30 minutes from start to finish
- Uses simple, budget-friendly ingredients from the pantry
- Works well for family dinners, gatherings, or just snack time
- Flexible for dietary swaps, like gluten-free flour blends
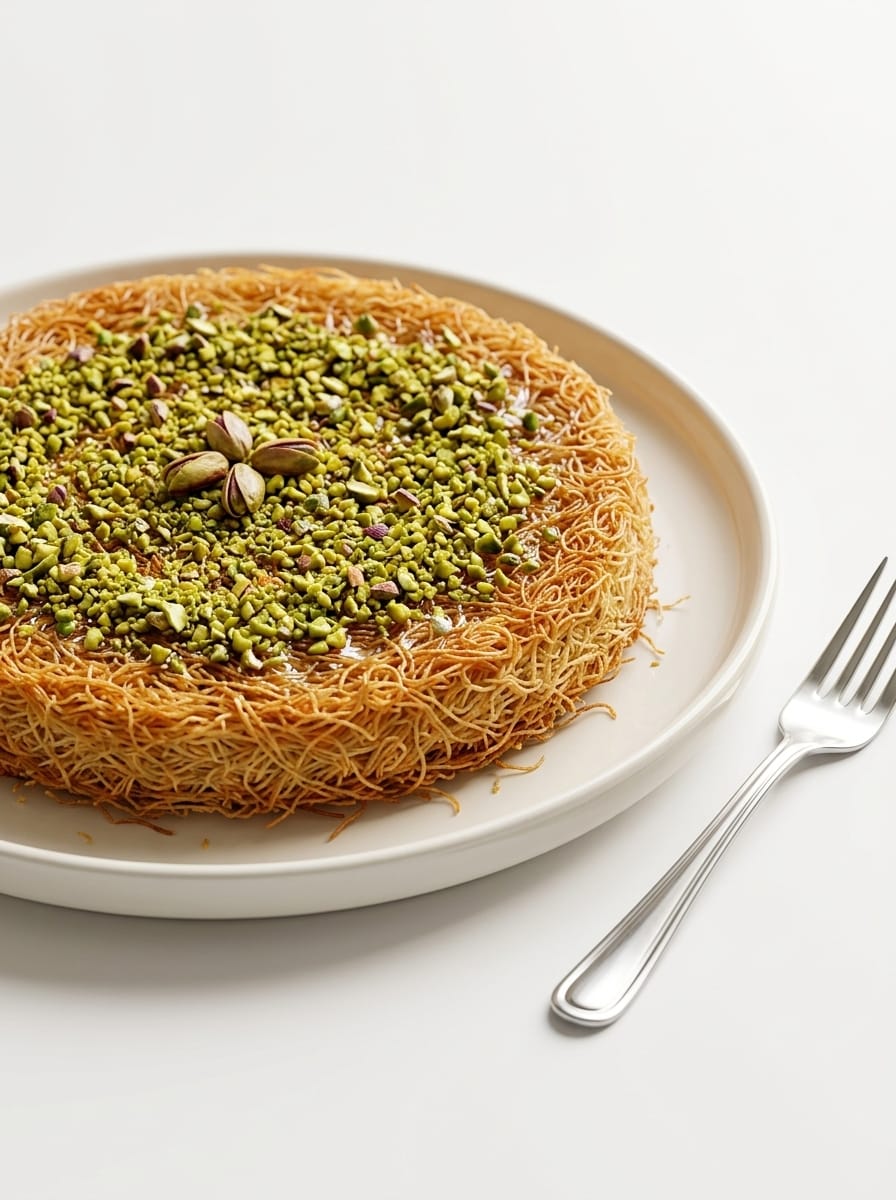
Ingredient Breakdown
- All-purpose flour: the base for structure; can substitute with gluten-free all-purpose blend if needed
- Cornstarch: adds crispness and reduces chewiness; avoid substituting to keep texture true
- Neutral oil: helps strands separate without adding flavor; use light oils like canola or vegetable
- Salt: just a pinch enhances all the flavors subtly without dominating
- Water: key for the right batter consistency; start with less and add gradually for balance
How to Make It — Clear Simple Steps
- Mix the batter by combining flour, cornstarch, salt, oil, and water. Whisk vigorously for 10 minutes until it’s smooth, lump-free, and reaches a heavy cream consistency. You’ll notice the batter becomes silkier as you go.
- Strain the batter through a fine mesh sieve to ensure no lumps remain, then let it rest for 1 hour. This resting step is essential — it helps the batter set and improves the delicate texture of the strands.
- Heat a non-stick pan over medium-low heat. Fill a piping bag with the batter and cut a tiny hole at the tip. Pipe the batter in a swift spiral or zigzag pattern across the pan.
- Cook for 5 to 30 seconds, just long enough for the strands to set and dry without browning. Gently lift the set dough from the pan and let it cool on a wire rack before using further.
Common Mistakes and How to Avoid Them
- Not whisking long enough — batter may remain lumpy. Fix by beating at least 10 minutes for a silky, smooth texture.
- Cooking on too high heat — strands may burn or brown. Maintain medium-low heat and watch closely until set but not browned.
- Skipping the rest period — strands can fall apart or become gummy. Resting for an hour improves batter stability and final texture.
Easy Variations to Try
- Add a pinch of ground cinnamon or cardamom for a warm, fragrant twist.
- Use chickpea or rice flour for a gluten-free, allergen-friendly option.
- Incorporate finely chopped nuts or seeds on the strands post-cooking to add crunch and visual interest.
Make-Ahead, Storage & Reheating
Store cooked Kataifi dough in an airtight container in the refrigerator for up to 2 days. For longer storage, freeze flat in parchment-lined layers in a zip-top bag for up to 1 month. Reheat briefly in a 350°F oven for 5–7 minutes to refresh crispness without drying it out. From my experience, the texture stays remarkably crisp if you reheat quickly, but prolonged exposure can make it brittle.
Frequently Asked Questions
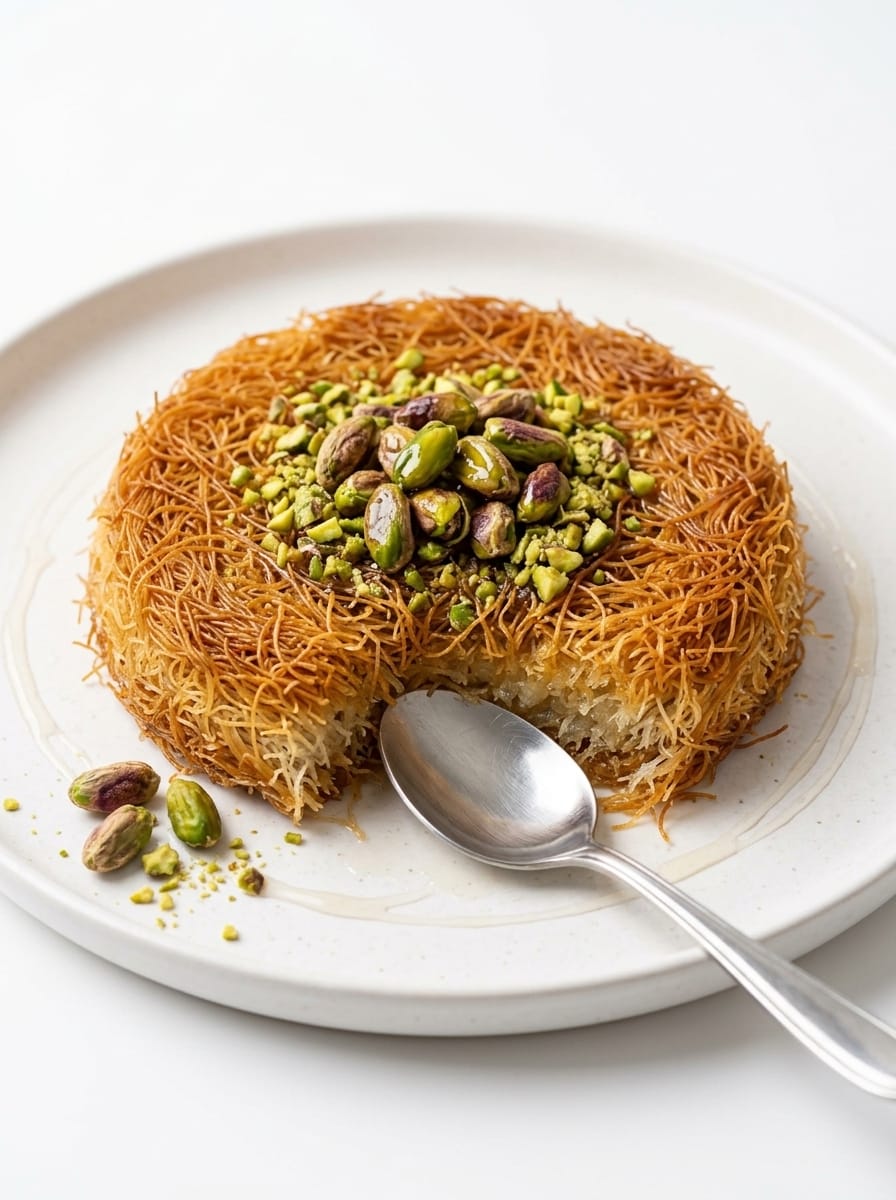
- What is Kataifi dough used for? It’s a shredded filo dough commonly used to make Middle Eastern desserts like kunafa, as well as savory appetizers.
- Can I make Kataifi dough ahead of time? Yes, you can store cooked dough in the fridge for 2 days or freeze it up to 1 month, reheating before use.
- Is homemade Kataifi dough difficult to make? It’s surprisingly simple if you follow the whisking and resting steps carefully to get the right texture for piping.
- Can I substitute other flours in the dough? Yes, gluten-free blends like rice or chickpea flour can work, but texture and crispness may vary slightly.
- Why is it important to pipe quickly on the pan? Rapid piping ensures thin, even strands that cook uniformly without sticking or clumping.
- Should I brown Kataifi dough when cooking? No, it should set and dry without browning to keep it light and flaky.
If you’ve ever faced a tight schedule or an empty fridge situation, Kataifi dough brings an elegant, approachable solution that invites creativity without hassle. I’d love to hear how your experiments turn out—feel free to share your thoughts and adaptations in the comments below!
More Recipes You’ll Love
- Baklava Cream Sandwich Cookies – a delightful blend of sweet and nutty that pairs well with Kataifi dough.
- Healthy Carrot Cake Oatmeal Cookies – a unique texture that complements the flakiness of Kataifi.
- Strawberry Tea Sandwiches – perfect for a refreshing dessert pairing with Kataifi-based treats.
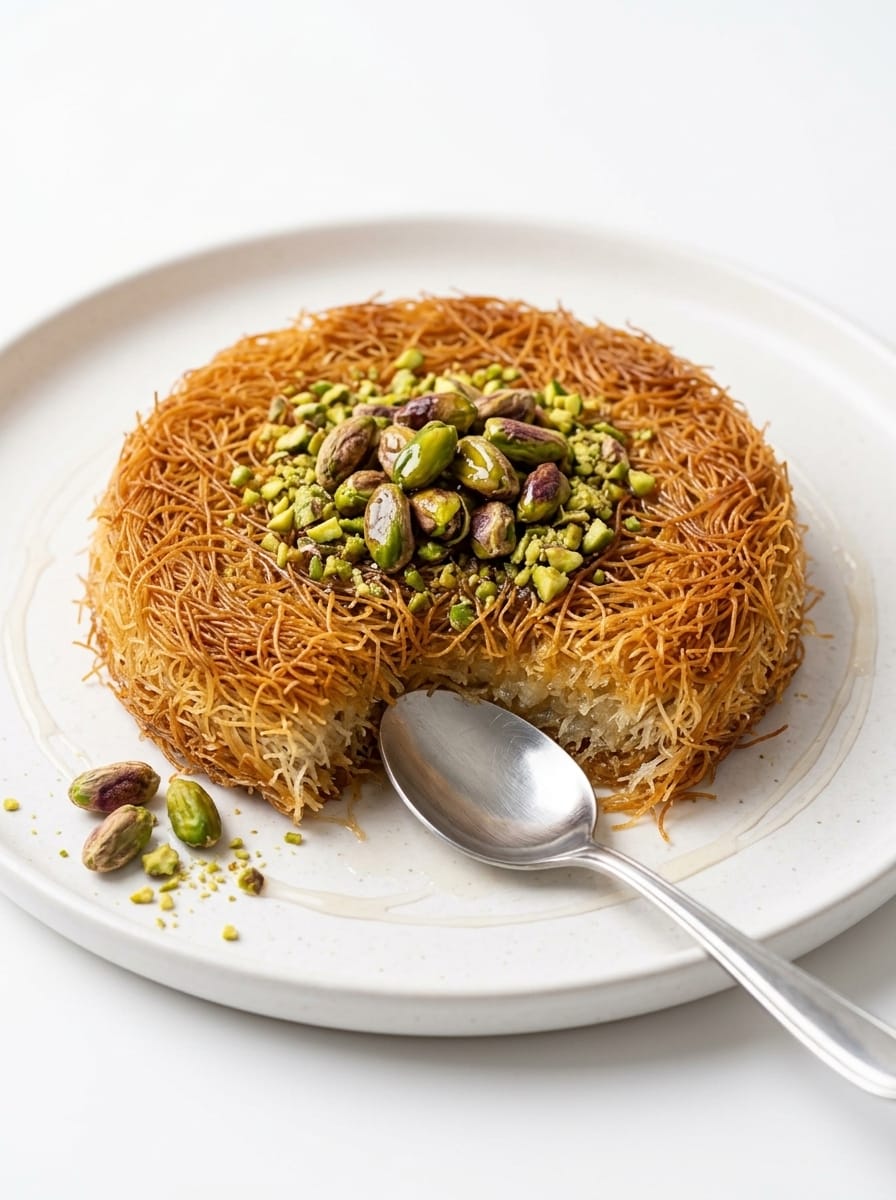
Homemade Kataifi Dough
Ingredients
- 1 cup all-purpose flour can substitute with gluten-free flour
- 2 tablespoons cornstarch adds crispiness
- 1 cup water adjust based on desired consistency
- 1 tablespoon avocado oil for a subtle flavor
- 1/4 teaspoon salt
Instructions
- In a large mixing bowl, combine the all-purpose flour, cornstarch, avocado oil, salt, and water. Whisk together for about 10 minutes, ensuring the mixture is completely smooth and has the consistency of heavy cream.
- Strain the batter using a fine-mesh sieve to remove any lumps, then let it sit for 1 hour. This resting period is crucial for achieving the perfect texture.
- After resting, transfer the batter to a piping bag, cutting a small hole at the tip to control the flow.
- Preheat a non-stick pan over medium-low heat. Pipe the batter onto the hot surface in a quick spiral or zigzag motion.
- Cook for 5 to 30 seconds until the strands firm up and dry without browning. Carefully lift them from the pan and place them on a cooling rack.