There’s something deeply satisfying about the crackle of a garlic clove under your teeth followed by that tangy, vinegar-kissed punch—that’s the heart of Pickled Garlic. From my first test jar on a rainy Sunday to the dozen I’ve tucked into my fridge, each batch revealed new layers of flavor. I discovered that a quick 8-second blanch takes the sting out of peeling (Personal Testing Note #1), and that balancing 2 cups apple cider vinegar with 1 cup water keeps the bite lively but never harsh.
Why You’ll Love Pickled Garlic
- A bright, tang-forward addition that livens up sandwiches, salads, and charcuterie boards
- Extends the shelf life of garlic for up to 3 months in the fridge with minimal effort
- Offers a tender texture with a slight snap, thanks to precise simmering
- An age-old preservation method rooted in Mediterranean and Asian traditions
A Little Background
I first dabbled in pickling garlic when a friend swore by its digestive benefits and savory lift. That Saturday, I spent an hour snapping garlic skins one by one, my fingertips tingling from the oils. By the second jar, I realized plunging cloves into boiling water for 8 seconds made peeling a breeze (Personal Testing Note #1). This technique turned a chore into a quick step, freeing me to focus on balancing flavors.
Key Ingredients for Pickled Garlic
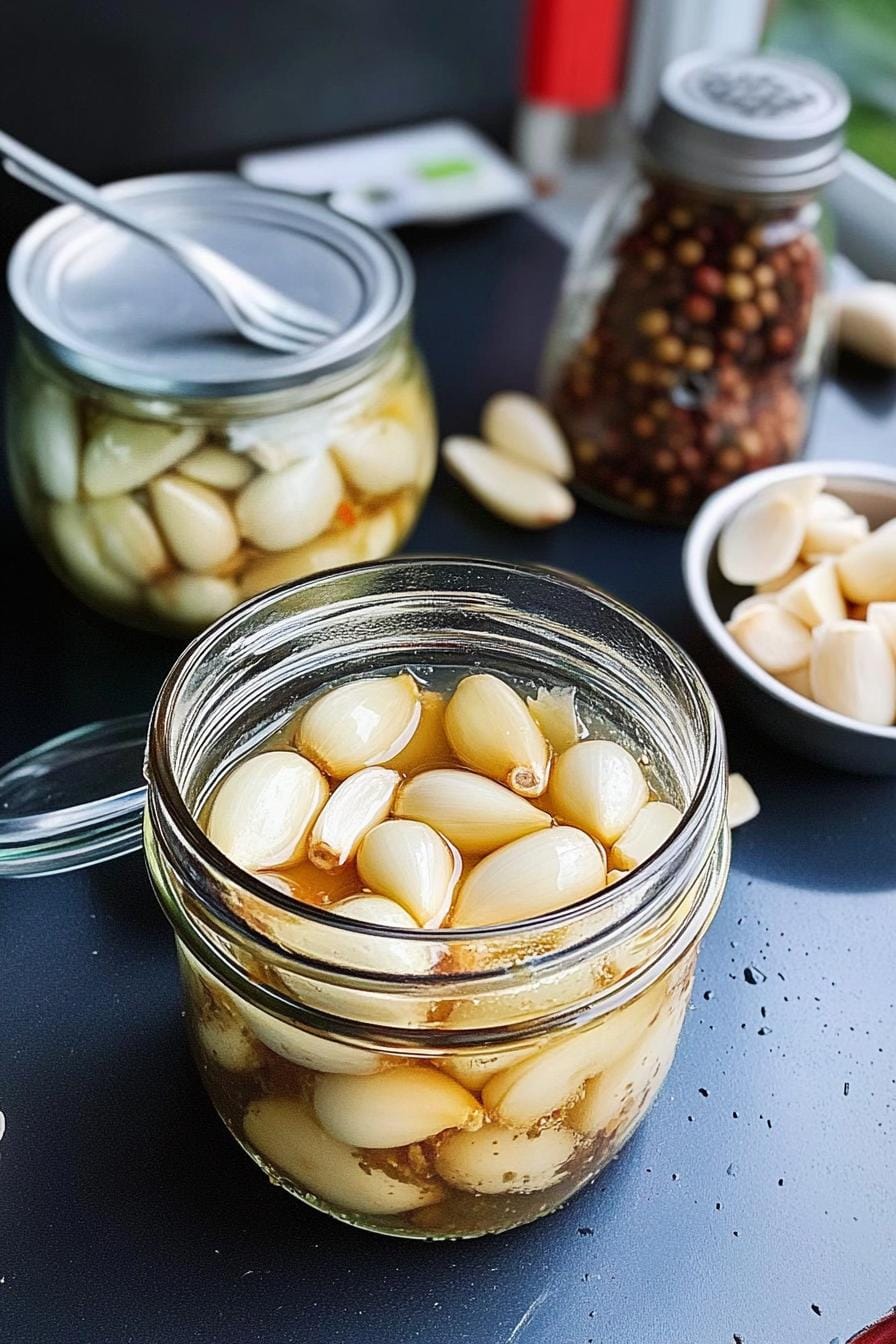
- Garlic Cloves (2 lbs): Fresh, firm bulbs—look for plump cloves with tight skins.
- Apple Cider Vinegar (2 cups): Imparts fruity acidity; white vinegar works but has a sharper tang.
- Water (1 cup): Dulls the acidity slightly for a more harmonious bite.
- Kosher Salt (1 tbsp): Creates a stable brine; omit iodized salt to avoid cloudiness.
- Granulated Sugar (2 tbsp): Balances sharpness without sweetness overpowering.
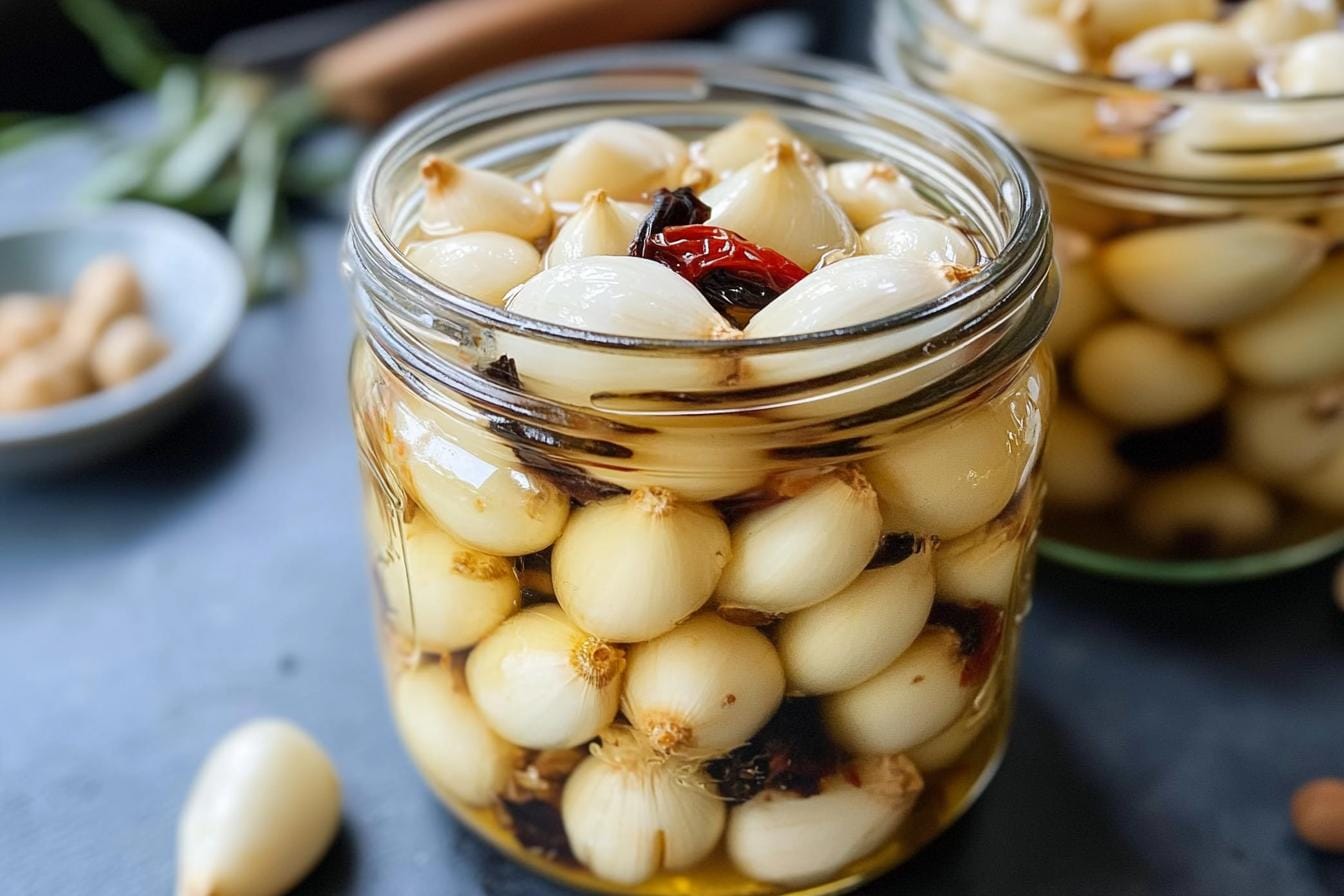
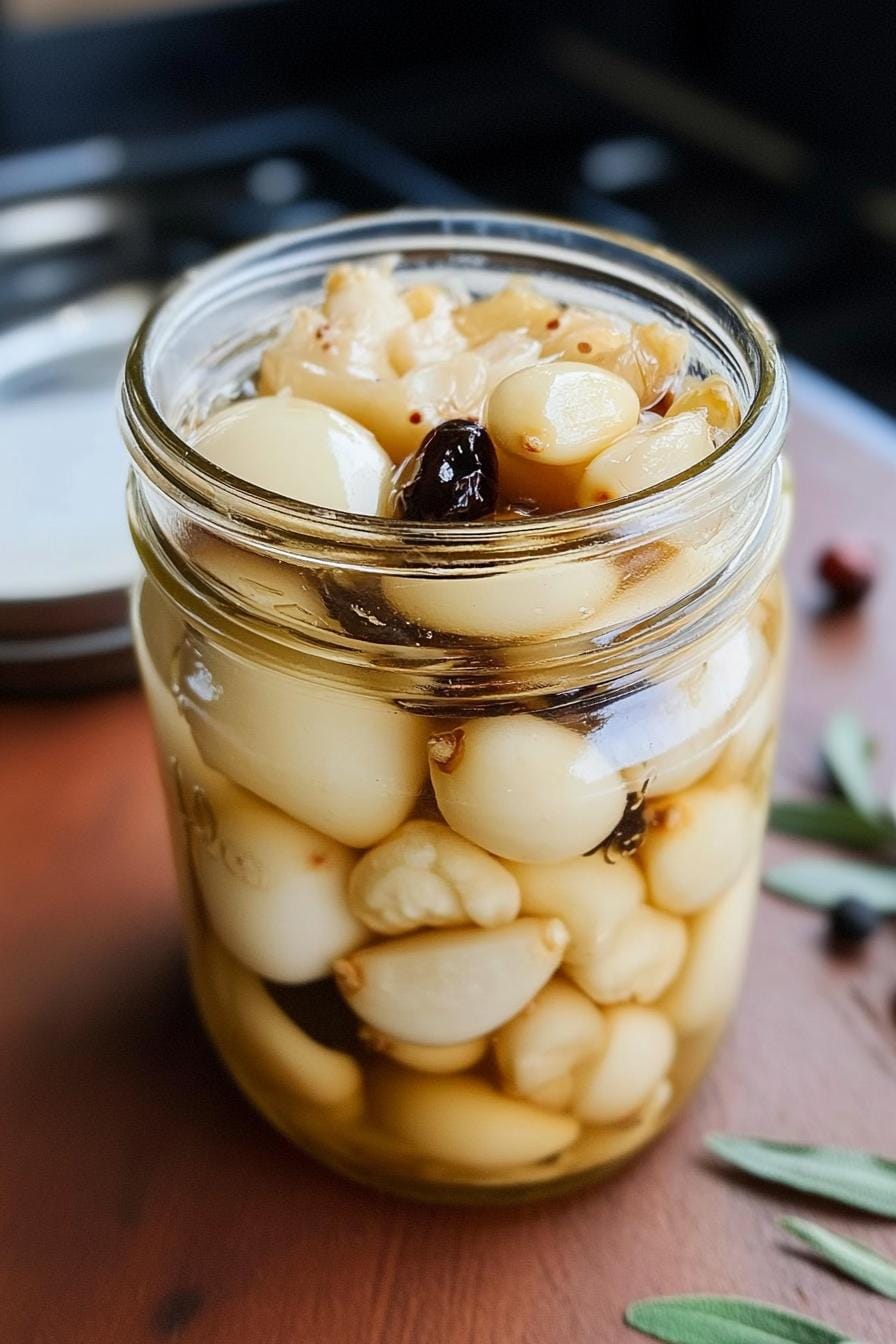
- Aromatic Spices: 1 bay leaf, 1 tsp peppercorns, ¼ tsp red pepper flakes for warmth and depth.
How to Make Pickled Garlic
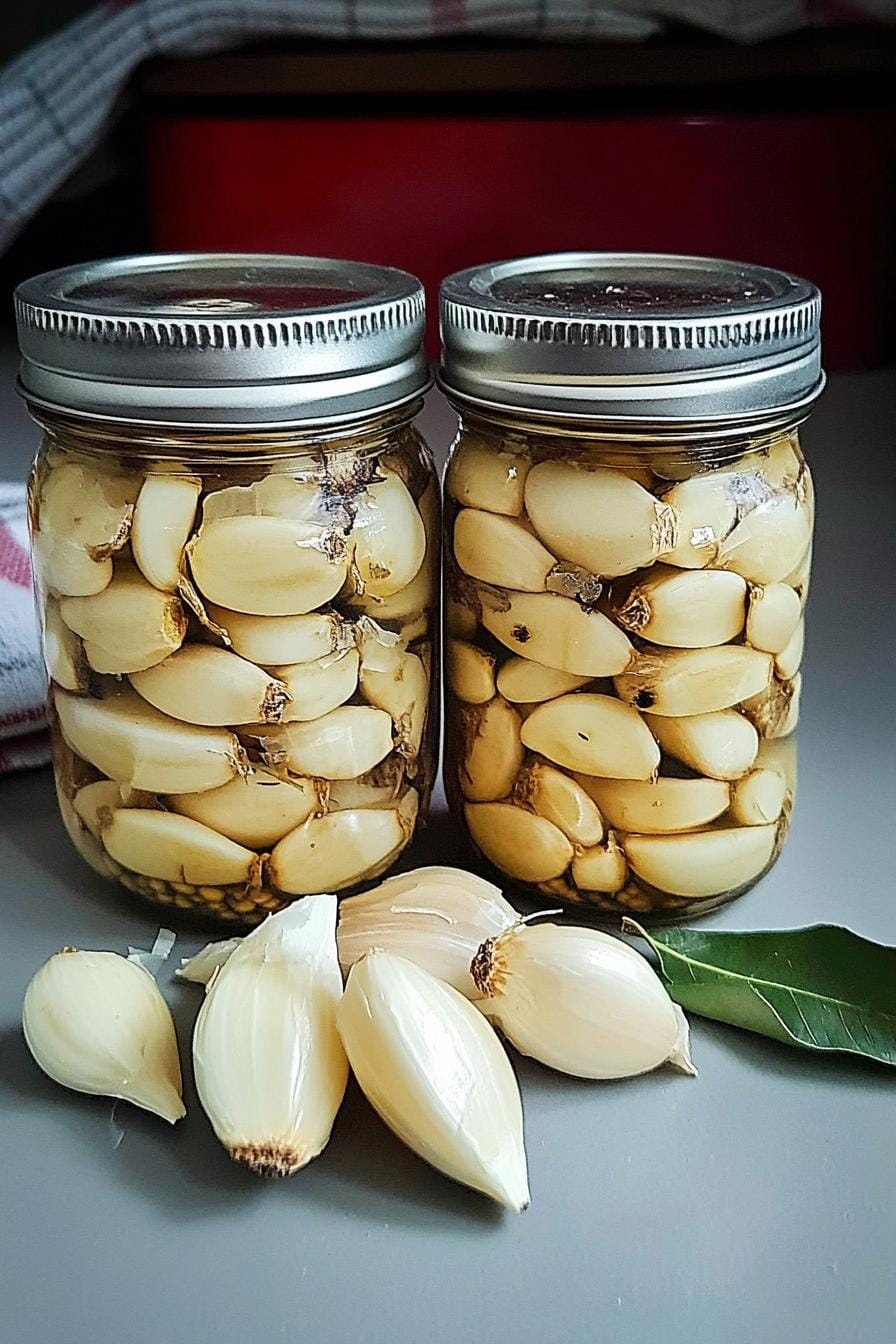
- Place peeled garlic cloves into two clean, sterilized 16-ounce jars, leaving about ½ inch of headspace.
- In a medium saucepan, combine 2 cups apple cider vinegar, 1 cup water, 1 tbsp kosher salt, and 2 tbsp granulated sugar. Bring to a boil over medium heat, then reduce to a gentle simmer and cook for 2 minutes, stirring until salt and sugar dissolve (Personal Testing Note #2: extending past 2 minutes softens the cloves more than I prefer).
- Divide 1 bay leaf, 1 tsp peppercorns, and ¼ tsp red pepper flakes evenly between the jars. Carefully pour the hot brine over the garlic, maintaining ½ inch headspace.
- Wipe jar rims, seal tightly, and let stand at room temperature until fully cooled. Refrigerate for at least 2 weeks before tasting.
Pro Tips & Troubleshooting
- For easier peeling, trim root ends and use a peeler tube or blanch cloves briefly.
- If brine turns cloudy, ensure salt and sugar are fully dissolved and jars are spotless.
- Drop a thin slice of ginger or a sprig of thyme into each jar for an extra aromatic layer.
- Doubling this recipe? Use a large pot to keep the brine at a steady simmer, then divide into jars evenly.
Storage & Make-Ahead Guide
After sealing, these jars will keep refrigerated for up to 3 months. The garlic is safe to eat as long as it remains submerged and is stored below 40°F. For best flavor, wait the full 2 weeks; I’ve discovered that around week 3 the cloves develop a richer, buttery roundness (Personal Testing Note #3). Always use a clean utensil to remove cloves to avoid introducing bacteria.
Serving Suggestions
Slice them into salads for a tangy kick, toss whole cloves into roasted vegetables, or layer on a charcuterie board alongside soft cheeses. Mash into compound butter for a savory spread or chop finely into vinaigrettes for a garlicky zing.
Frequently Asked Questions
- How long does it take to make pickled garlic? Active prep is about 15 minutes; refrigerate at least 2 weeks before eating.
- How long does pickled garlic last? Properly refrigerated (≤40°F), it stays fresh for up to 3 months.
- Can I use white vinegar instead of apple cider vinegar? Yes—white vinegar gives a sharper bite; add extra sugar if it’s too tart.
- Do I need to sterilize jars for pickling? Sterilized jars and lids prevent contamination and keep your brine clear.
- Why is my brine cloudy? Cloudiness often means salt or sugar didn’t fully dissolve or jars weren’t completely clean.
- What can I do with leftover pickling spices? Rinse and reuse peppercorns and bay leaves in soups or stews for extra aroma.
Final Thoughts
Pickled Garlic transforms simple cloves into a versatile pantry staple that brightens dishes all year round. My favorite way to enjoy it is tucked into a grilled cheese, where the tang meets gooey cheese in a playful contrast. I’d love to hear how your jars turned out—don’t forget to share your tweaks and tasting notes!
More Recipes You’ll Love
- Marinated Cherry Tomatoes – bright, tangy pickled salad pairing that echoes garlic’s acidity
- Air Fryer Stuffed Pickles – another crunchy, tang-forward snack for pickle lovers
- Tzatziki Sauce – creamy dip highlighting garlic flavor in a cooling yogurt sauce
Pickled Garlic
Ingredients
Garlic
- 2 lb garlic cloves peeled
Brine Ingredients
- 2 cup apple cider vinegar
- 1 cup water
- 1 tbsp kosher salt
- 2 tbsp granulated sugar
Aromatics
- 1 bay leaf bay leaf
- 1 tsp peppercorns whole
- 0.25 tsp red pepper flakes
Instructions
Prepare Jars
- Place peeled garlic cloves into two sterilized 16-ounce jars, leaving ½ inch headspace.2 lb garlic cloves
Make Brine
- In a medium saucepan, combine apple cider vinegar, water, kosher salt, and granulated sugar. Bring to a boil over medium heat, then simmer for 2 minutes, stirring until salt and sugar dissolve.2 cup apple cider vinegar, 1 cup water, 1 tbsp kosher salt
Add Spices & Jar
- Divide bay leaf, peppercorns, and red pepper flakes evenly between the jars. Pour the hot brine over the garlic, maintaining ½ inch headspace.2 tbsp granulated sugar, 1 bay leaf bay leaf, 2 cup apple cider vinegar, 1 cup water, 1 tbsp kosher salt
Pickle
- Seal jars, let cool to room temperature, then refrigerate for at least 2 weeks before tasting.