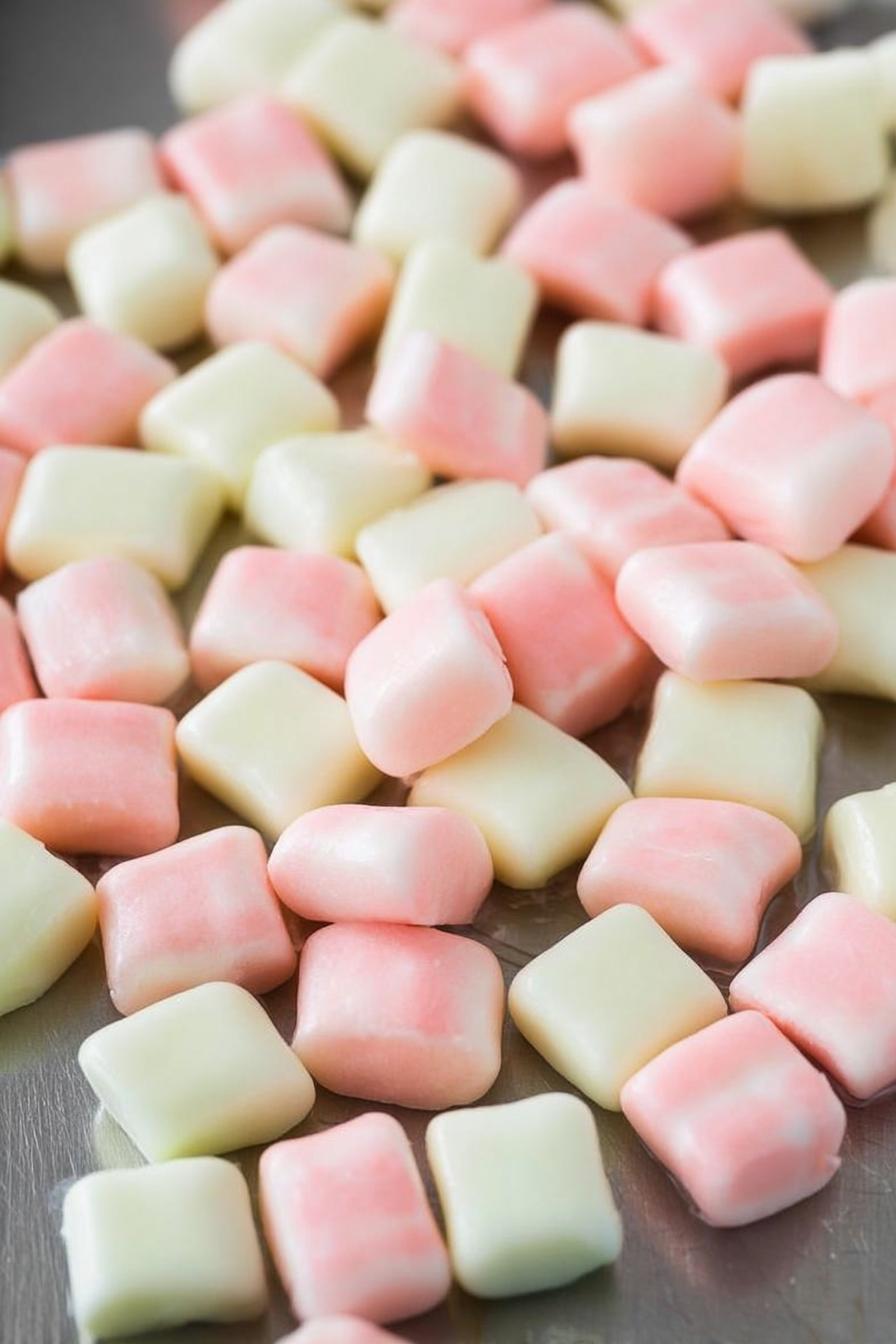
My first bite of Butter Mints made the kitchen smell like sweet clouds, that gentle crackling as I sliced them felt like holiday magic. After three test batches, I discovered the right balance of butter, cream, and confectioners’ sugar, yielding mints with glossy surfaces that dry to matte perfection. Testing in my little home kitchen taught me what a difference chilling time makes—and I can’t wait for you to try.
Why You’ll Love Butter Mints
- A melt-in-your-mouth texture that glides on your tongue.
- A glossy finish before drying to a matte, meltaway surface.
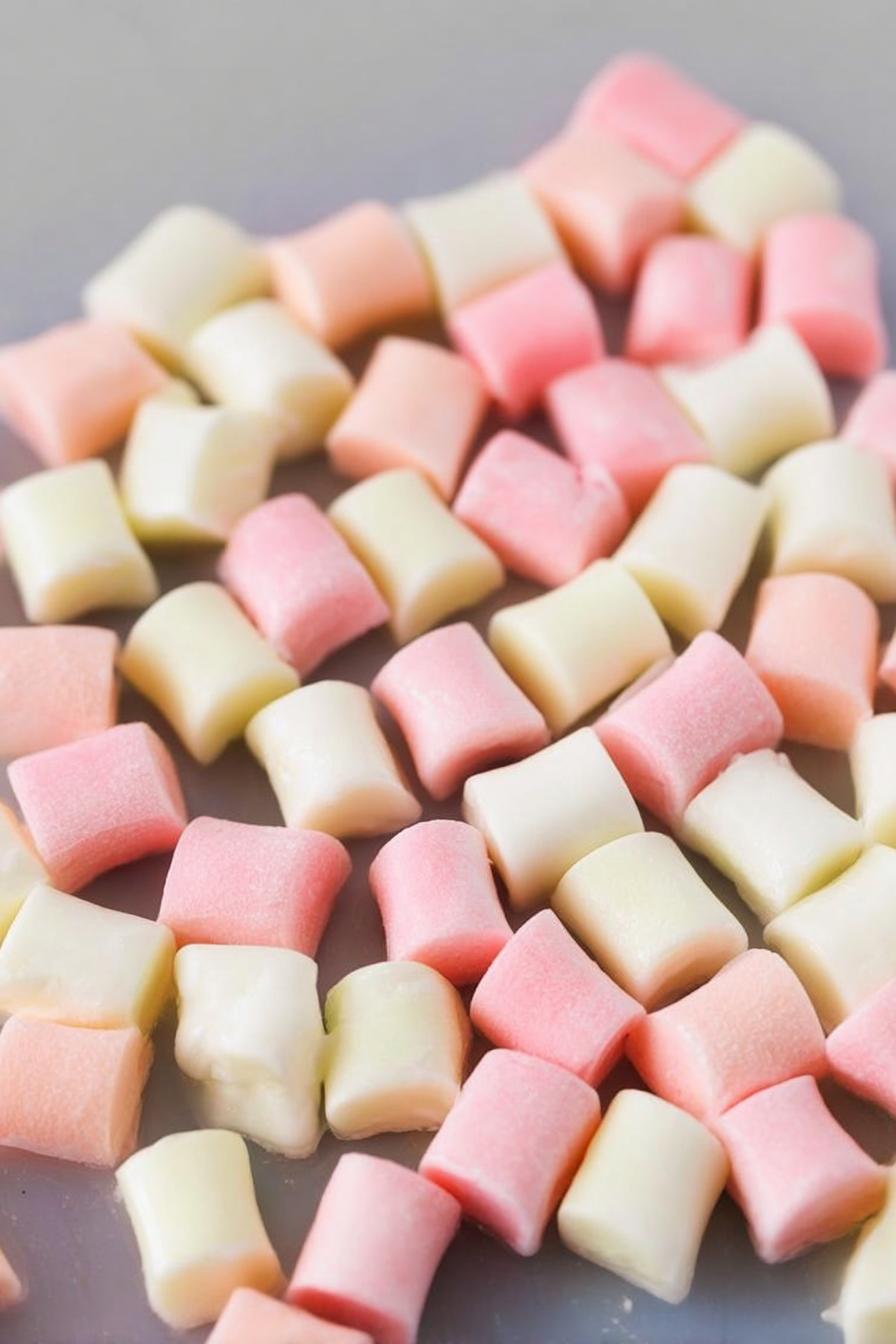
- Easy to tint for special events, from baby showers to weddings.
- Rooted in a Southern tradition, often passed down through families.
A Little Background
When I first mixed the softened butter and powdered sugar, I underestimated how crucial room-temp butter would be. Personal testing note: on my first run I rolled out sticky, tear-prone ropes—after a quick chill, the dough was silkier and far easier to handle. These mints date back decades as a classic after-dinner treat, especially around the holidays.
Key Ingredients for Butter Mints
- Unsalted butter: Provides richness. Ensure it’s at room temperature; you can swap in half-salted if that’s what you have, just skip added salt.
- Powdered sugar: Creates structure and sweetness. Sift to avoid lumps for a smooth mint.
- Heavy cream: Adds silkiness. A tablespoon more helps if dough feels too dry.
- Vanilla extract: Brings depth. Pure vanilla elevates flavor over imitation.
- Gel food coloring (optional): For pastel hues. Oil-based gel won’t alter dough consistency.
How to Make Butter Mints
- Cream the butter, heavy cream, and vanilla together until the mixture is pale and airy, about 1–2 minutes on medium speed.
- Slowly mix in powdered sugar, 1 cup at a time, until dough pulls away from the bowl and feels pliable (3–4 minutes).
- Divide dough, tint with gel coloring if desired, and roll each portion into ½-inch ropes on a sugar-dusted surface.
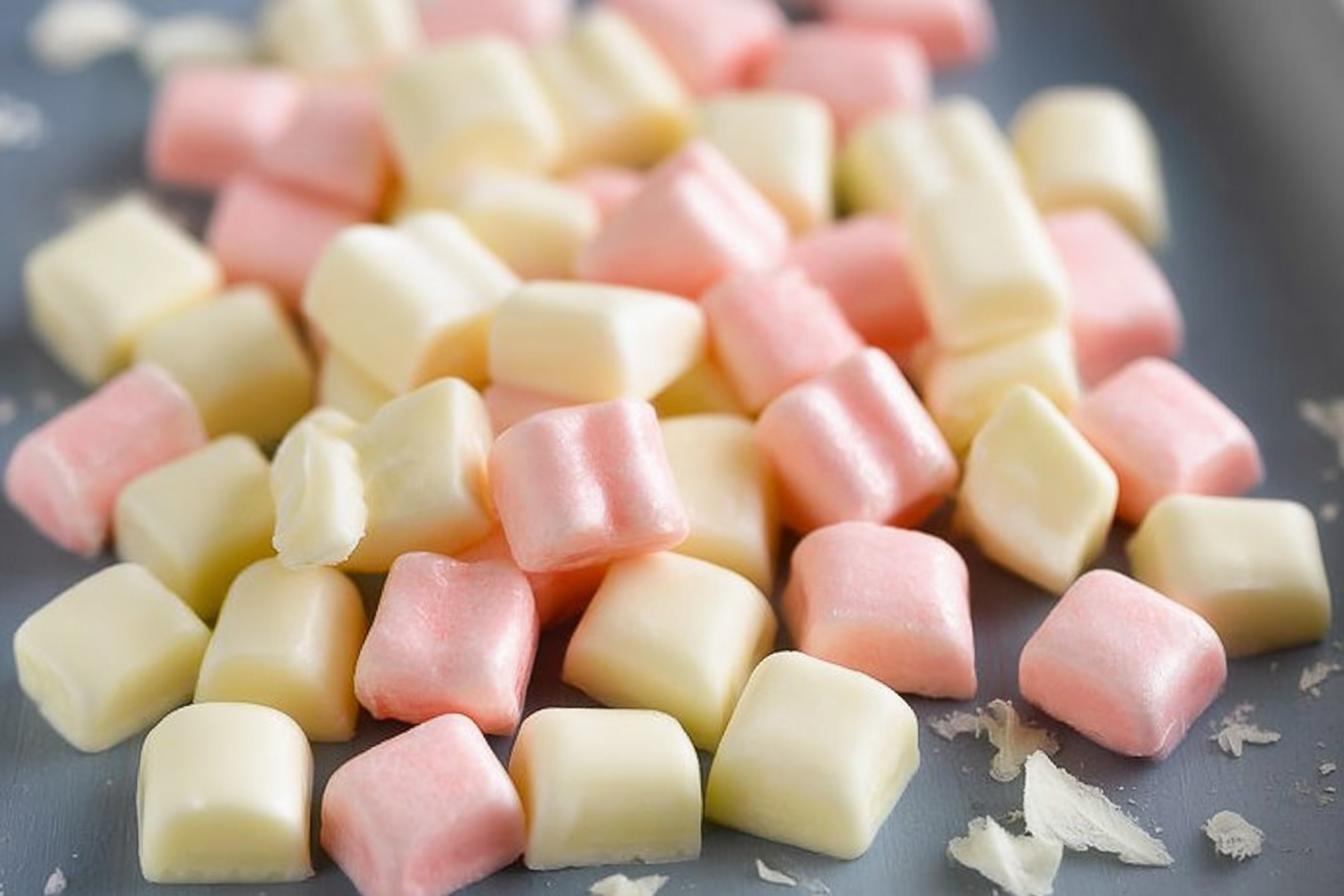
- Wrap ropes in plastic wrap and chill for 30 minutes. Unwrap, slice into ¼-inch coins, and let rest on parchment for 2 hours until matte.
Pro Tips & Troubleshooting
- Butter temperature: If your butter is too warm, the ropes will slump. Pop the dough back in the fridge for 5–10 minutes.
- Sticky dough? Add a teaspoon of cream or dust work surface with extra powdered sugar.
- Personal testing note: slicing with unflavored dental floss gave cleaner edges than a serrated knife.
- Scaling: To double, use a large mixer bowl; for half batches, keep an eye on chilling time—smaller ropes firm up faster.
Storage & Make-Ahead Guide
Store Butter Mints in an airtight container at room temperature for up to 1 week. For longer keeping, refrigerate and use within 2 weeks, or freeze for 1 month. Personal testing note: letting mints rest uncovered in the fridge for 10 minutes before sealing reduces condensation and keeps them crisp. Always avoid moisture—moisture is the enemy of that meltaway texture.
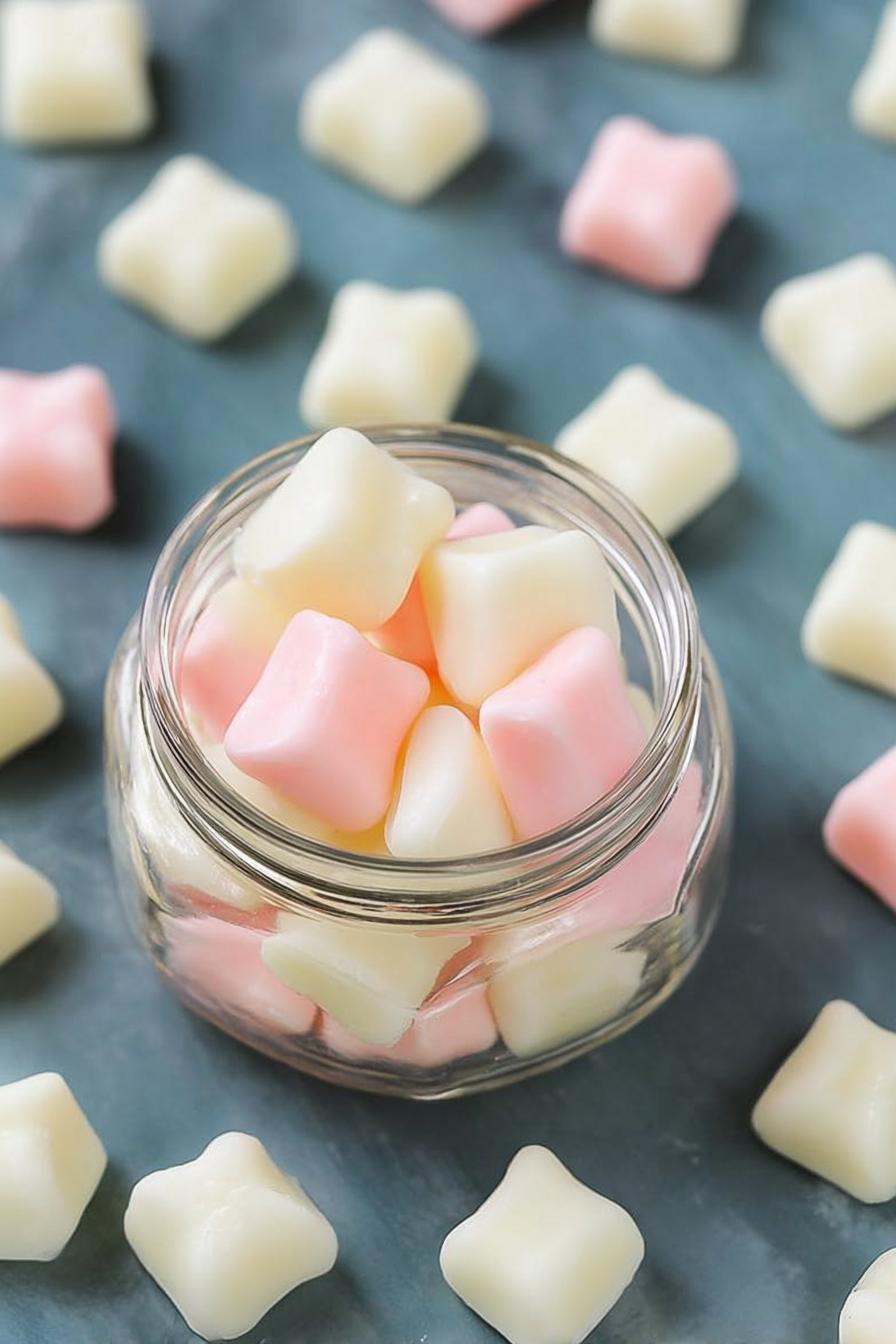
Serving Suggestions
Arrange these little pastel rounds on a tiered dessert tray for bridal showers, tuck a few into cellophane bags tied with ribbon as party favors, or pair with coffee at the end of a family meal for a fresh, buttery finish.
Frequently Asked Questions
- How long do Butter Mints last at room temperature? Stored airtight, they stay fresh for about 1 week on the counter.
- Can I freeze Butter Mints? Yes—place in a freezer-safe container with parchment layers; thaw in the fridge overnight.
- Why are my Butter Mints sticky? Humidity or under-chilling can cause stickiness; ensure a full 2-hour dry time in a cool, dry spot.
- Can I use milk instead of heavy cream? You can, but cream gives a richer, silkier dough; milk may yield a slightly firmer texture.
- How do I color Butter Mints without water? Use oil-based gel food coloring to avoid altering dough consistency.
- Can I leave out vanilla extract? Omitting it will result in a blander mint; try a light almond extract if you’re out of vanilla.
Final Thoughts
These Butter Mints remain my go-to treat when I want a simple, meltaway candy that still feels special. I love how they dress up a dessert table or finish off a meal. Give them a try, share your color combos, and let me know how your first batch turns out!
More Recipes You’ll Love
- Kool-Aid Taffy – another vibrant, melt-in-your-mouth homemade candy with endless flavor options.
- Marshmallow Nougat Bars – chewy, airy bars that share that candy-table charm.
- Raspberry Swirl Cookies – buttery shortbread with colorful swirls, perfect alongside your mints.
Butter Mints
Ingredients
- 0.5 cup unsalted butter softened
- 2 tablespoons heavy cream
- 1 teaspoon vanilla extract
- 1 teaspoon peppermint extract optional
- 4 cups powdered sugar sifted, plus extra for dusting
- gel food coloring optional
Instructions
- In a large bowl, cream together the softened butter, heavy cream, and vanilla extract until pale and fluffy, about 2 minutes.
- Gradually add the sifted powdered sugar, one cup at a time, mixing on low speed until fully incorporated and dough is smooth.
- Stir in peppermint extract and gel food coloring, if using, until the color is even throughout.
- Turn the dough out onto a sugar-dusted surface and roll it into a long rope about 1/2-inch in diameter.
- Wrap the rope tightly in plastic wrap and chill in the refrigerator for 30 minutes.
- Unwrap the chilled rope and slice it into 1/4-inch thick pieces using a sharp knife or unflavored floss.
- Place the slices on parchment-lined trays and let them rest at room temperature for at least 2 hours until the surfaces dry to a matte finish.