Have You Started Making Gluten Free Pita Bread Lately? Many people today are searching for gluten-free bread alternatives; homemade gluten free pita is an amazing treat that won’t compromise their diets! With this comprehensive guide to making Gluten-Free Pita Bread we cover everything you need from ingredients, preparation and tips on perfecting recipes – let’s dive right in to Gluten-Free Baking!
Why Make Gluten-Free Pita Bread?
Making gluten free pita bread at home offers several advantages:
- Freshness: homemade pita is fresher than store-bought options that may contain preservatives; there’s nothing quite as enjoyable as the aroma of freshly baked bread filling your kitchen!
- Customization: With homemade pita, you have total control of what goes into your food – be it vegan, dairy-free or egg-free diet. By creating it yourself you have complete access over what goes in!
- Flavor: Nothing compares to the exquisite aroma and delicious flavor of freshly-baked pita bread right out of the oven, inviting you to experiment with flavors and spices until finding one that perfectly satisfies your palate.
Make Your Own Gluten-Free Pita Bread: Benefits
When creating homemade gluten free pita bread from scratch, you have more control of which ingredients go in, including whole grain flours or natural sweeteners that may make for healthier options for you and your diet.
Items You Will Need to make Gluten-Free Pita Bread

Gather these ingredients to make gluten free pita bread:
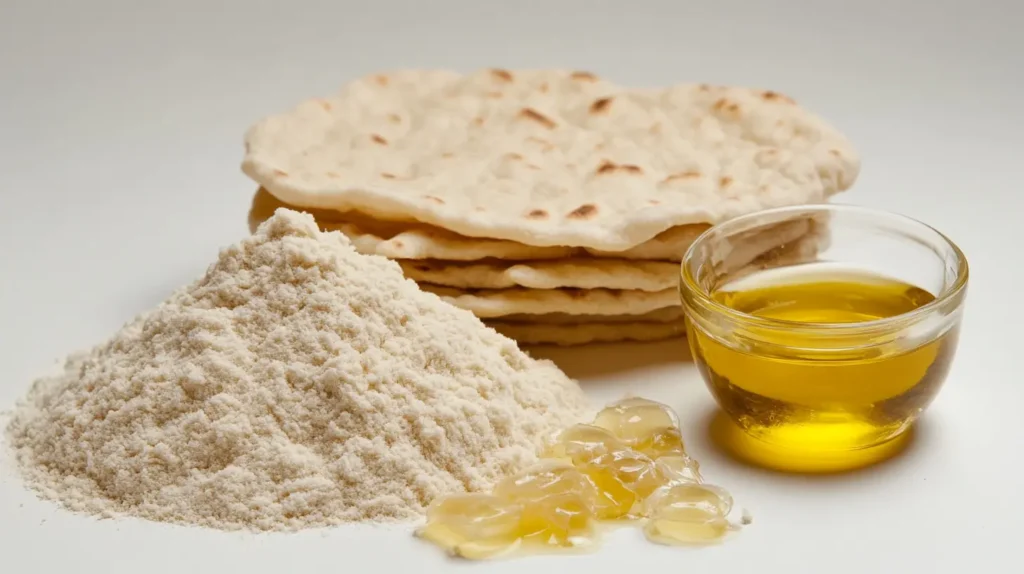
- Gluten Free Flour Blend: For best results, select an all-purpose gluten-free flour mix such as Better Batter or Bob’s Red Mill’s. These typically combine rice flour, tapioca starch and potato starch into one blend.
- Psyllium Husk Powder: To achieve an authentic gluten texture and retain moisture in the bread. Additionally, this ingredient adds chewy textures while helping with moisture retention.
- Baking Powder: Used as leavening agent so pitas puff up beautifully – ensure it’s fresh for optimal results!
- Salt: Enhancing flavor while offsetting any sweetness added from added sugars.
- Sugar: Helping activate yeast while adding sweetness with just a small dose.
- Instant Yeast: Essential to rising quickly; its rapid action eliminates proofing. Fresh yeast may also be used, just adjust its quantity accordingly.
- Warm Water: Activates yeast while moistening dough at an ideal temperature of 110 degF (43 degC).
- Olive Oil: Essential for creating moist and flavorful dough, olive oil can also be substituted with other neutral flavored oils such as coconut or soybean oils if preferred.
- Milk or Dairy-Free Milk: For an even creamier texture, replace part of the water with dairy (dairy-based or dairy-free), such as almond or oat milk; these dairy-free alternatives work just as well in this recipe!
- Herbs & Spices: Add dried herbs such as oregano or garlic powder for extra flavor in your pita bread recipe.
Step-by-Step Instructions
Prepare Your Ingredients
Begin by measuring out and gathering all of your ingredients. Having everything ready will make the process smoother and more enjoyable; in culinary terminology this practice is known as “mise en place,” French for “in its place.”
Mix Dry Ingredients
In a large mixing bowl whisk together:
- 1 1/2 Cups gluten Free All Purpose Flour
- 1/4 cup Psyllium Husk Powder
- 1 Teaspoon Baking Powder
- 1/2 teaspoon Salt
- 1 Teaspoon sugar
- 2 Teaspoons instant Yeast
Mix until all dry ingredients have been evenly dispersed throughout the dough.
Combine Wet Ingredients
To this mix add one cup of warm water (approximately 110degF) and 2 tablespoons olive oil in a medium-size mixing bowl until a soft dough forms; this should be slightly sticky but manageable if too dry add a splash more water; otherwise add extra flour if it seems wet or overruns on itself.
Knead the Dough
Knead your dough for at least 2-3 minutes until smooth – this step will help develop its structure and ensure it holds together when baking. If it seems sticky or too wet to work, add additional gluten free flour as necessary but be cautious not to overwork your dough too soon!
Allow It To Rise
Cover your bowl with a clean kitchen towel and place in a warm location for approximately 30 minutes for it to rise, which allows the yeast to work its magic and give your pitas their delicious texture. You can create such an environment by preheating your oven briefly and turning off before placing the dough inside it.
Preheat Your Oven
Preheat the oven to 475degF (245degC). For best results when baking pitas, heat both your baking stone or cast iron skillet as well. This will give them time to get warm while helping create that perfectly puffy pita surface!
Form Your Pitas
After your dough has risen, divide it into equal portions (roughly six), rolling each one into a ball before flattening into discs about 1/4″ thick using either your hands or rolling pins – be sure to ensure they’re even-shaped for optimal baking results!
Bake Your Pitas
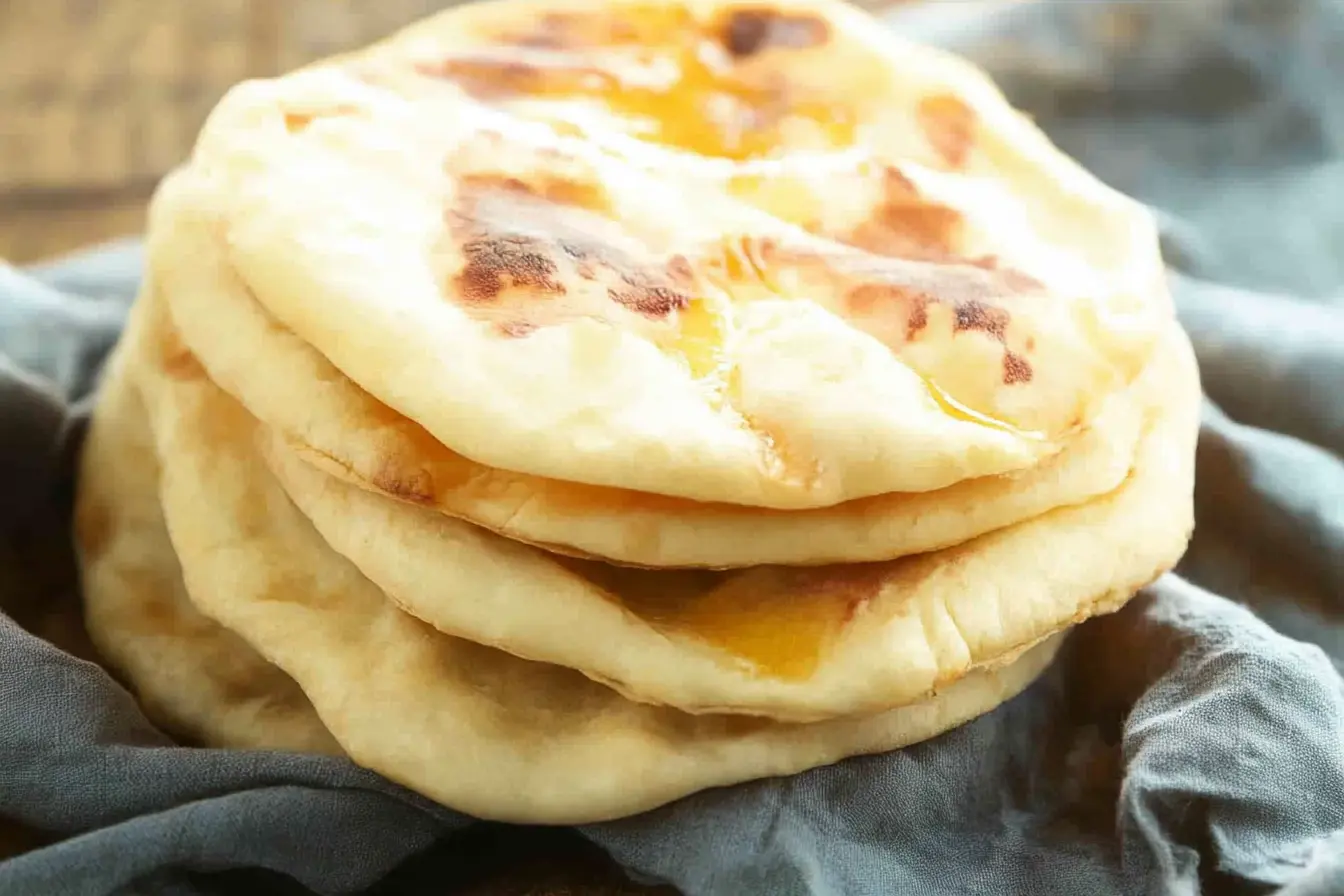
Place the discs onto a parchment-lined baking sheet or directly on your hot baking stone/skillet and bake for approximately 7-8 minutes or until they puff up and turn golden-brown in color – keeping an eye out as they bake; they should become puffier dramatically!
Enjoy!
Pull them from the oven, allow to cool slightly before enjoying with dips like hummus or tzatziki, falafel, vegetables, olive oil and herbs! Or just warm and serve for breakfast with olive oil drizzled on it as is!

Tips for Perfect Gluten-Free Pita Bread
Make sure that every batch of gluten free pita bread turns out perfectly every time with these helpful hints:
- Don’t Overwork the Dough: Knead just enough so everything comes together without overdoing it – this ensures tender, chewy pitas without cracks that could result in tough bread.
- Utilize High Heat: When baking pita breads, making sure your oven has adequate heat is key in creating those perfect pockets within each pita.
- Add flavor: Try mixing in herbs or spices such as garlic powder, onion powder or dried oregano into the dough for additional zing! They’re sure to take your pitas up a notch or two!
- Monitor Baking Time: Every oven differs; keep an eye on your pitas while they bake to prevent burning and ensure they puff up nicely.
Serving Suggestions
Once your delicious gluten free pita bread has finished baking, here are a few serving ideas:
- Stuffed Pitas: Create an unforgettable meal by filling pitas with grilled chicken, lettuce, tomatoes and cucumbers drizzled in tahini sauce for a delightful lunch or brunch treat.
- Dips and Spreads: Serve pitas alongside delicious dips such as hummus, baba ganoush, tzatziki sauce or guacamole as an accompanying spread or appetizer course for easy snacking and dunking pleasure!
- Breakfast Pockets: For an on-the-go nutritious breakfast option, fill them with scrambled eggs and spinach for a nutritious morning meal.
- Snack Time: Cut them into triangles before lightly toasting them to create crispy pita chips to pair perfectly with dips and salsas.
FAQ
No. Not all pita bread is gluten-free. Traditional pita is usually prepared from wheat flour which contains gluten, which many individuals must forgoing due to celiac disease or gluten intolerance. There are many recipes out there designed with alternative flours such as rice or chickpea flour specifically to cater to people avoiding it.
What bread naturally is free from gluten?
Cornbread made primarily with cornmeal while Rice Bread uses rice flour. These two choices of bread provide light options without gluten contamination!Oat Bread: Constructed using gluten free oats; Almond Flour Bread: Offering low carb options made from almond flour. These breads do not contain wheat or gluten ingredients if purchasing premade options – always read labels before purchasing these options to be safe!
Are You Wondering If Lebanese Bread Is Gluten Free?
Lebanese bread, typically prepared using wheat flour, does contain gluten…. Nevertheless, an alternative can be created using suitable gluten free ingredients such as almond or chickpea flours that resemble Lebanese-style flatbreads without containing any gluten containing ingredients like traditional pita.
Which Bread Flour Is Gluten-Free
There are various brands offering top-quality gluten free flour blends designed specifically for baking:
- Bob’s Red Mill All-Purpose Baking Flour
- King Arthur Gluten Free Measure for Measure Flour.
- Better Batter Gluten-Free Flour Blend
This mix typically features rice flour and tapioca starch to effectively replicate traditional wheat flour in baked goods.
Troubleshooting Common Issues
Even experienced bakers encounter challenges when trying new recipes! Below are a few issues you might run into while making gluten free pita bread that need fixing:
Pitas Not Puffing Up
If your pitas don’t puff up during baking:
- Before adding yeasted dough discs to your oven, make sure it has been sufficiently preheated.
- Ensure you use fresh yeast; expired varieties may not rise properly.
- Roll each disc out evenly–thicker areas may not puff correctly and produce desired results.
- Avoid opening the oven door frequently while baking; this could result in temperature fluctuations affecting how your bread rises.
Dough Too Sticky
If your dough feels sticky when mixing:
- Gradually increase flour until it becomes manageable but remains soft.
- Instead of adding excessive flour when handling sticky dough, try wetting your hands when handling sticky dough to keep it moist without making it dense.
Pitas Too Dense
If your pitas turn out dense rather than light:
- If too much flour contributes to density.
- Knead only until combined; overkneading can create tough textures.
- Allow ample time for rising; don’t rush this step!
Storing Your Gluten-Free Pita Bread
For the freshest pitas:
- Room Temperature: For up to three days of storage at room temperature, store pitas in an airtight container; otherwise refrigerate (up to one week).
- Refrigeration (up to one week).
- Freezing: For extended storage (up to three months), freeze individual pitas tightly wrapped in plastic wrap then aluminum foil before placing in freezer bags; this helps avoid freezer burn!
When ready to enjoy frozen pitas again:
- Thaw overnight in the refrigerator.
- Preheat in an oven at low heat until heated all the way before placing back into your serving dishes!
Conclusion
Making gluten free pita bread at home can be both simple and rewarding! With just a few key ingredients and steps outlined here, you can craft tasty pitas everyone will savor — regardless of diet restrictions! Give this recipe a go; you won’t regret it. Experiment with different fillings and flavors until your perfect homemade treat! Happy Baking!
Gluten Free Pita Bread
Ingredients
- 1 1/2 cups gluten-free all-purpose flour
- 1/4 cup psyllium husk powder
- 1 teaspoon baking powder
- 1/2 teaspoon salt
- 1 teaspoon sugar
- 2 teaspoons instant yeast
- 1 cup warm water approximately 110°F / 43°C
- 2 tablespoons olive oil
- Optional: herbs and spices e.g., oregano, garlic powder
Instructions
- Prepare Your Ingredients: Measure and gather all ingredients to ensure a smooth process.
- Mix Dry Ingredients: In a large mixing bowl, whisk together the gluten-free flour, psyllium husk powder, baking powder, salt, sugar, and instant yeast until evenly combined.
- Combine Wet Ingredients: Add warm water and olive oil to the dry mixture. Stir until a soft dough forms. If the dough is too dry, add a splash more water; if too wet, add extra flour.
- Knead the Dough: Knead the dough for about 2-3 minutes until smooth. If sticky, add more gluten-free flour as needed.
- Allow It to Rise: Cover the bowl with a clean kitchen towel and let it rise in a warm place for about 30 minutes.
- Preheat Your Oven: Preheat your oven to 475°F (245°C) and heat a baking stone or cast iron skillet inside.
- Form Your Pitas: After rising, divide the dough into approximately six equal portions. Roll each into a ball and flatten into discs about 1/4 inch thick.
- Bake Your Pitas: Place the discs on a parchment-lined baking sheet or directly on the hot baking stone/skillet. Bake for about 7-8 minutes or until they puff up and turn golden brown.
- Enjoy: Allow to cool slightly before serving with dips like hummus or tzatziki, or enjoy them warm.
Notes
Tips:
- Don’t overwork the dough to ensure tender pitas.
- Use high heat for optimal puffing during baking.
- Experiment with adding herbs or spices for extra flavor.
Serving Suggestions:
- Stuff with grilled chicken and veggies.
- Serve with dips like hummus or guacamole.
- Make breakfast pockets with scrambled eggs.
Storage:
- Store at room temperature in an airtight container for up to three days, refrigerate for up to one week, or freeze for up to three months.


