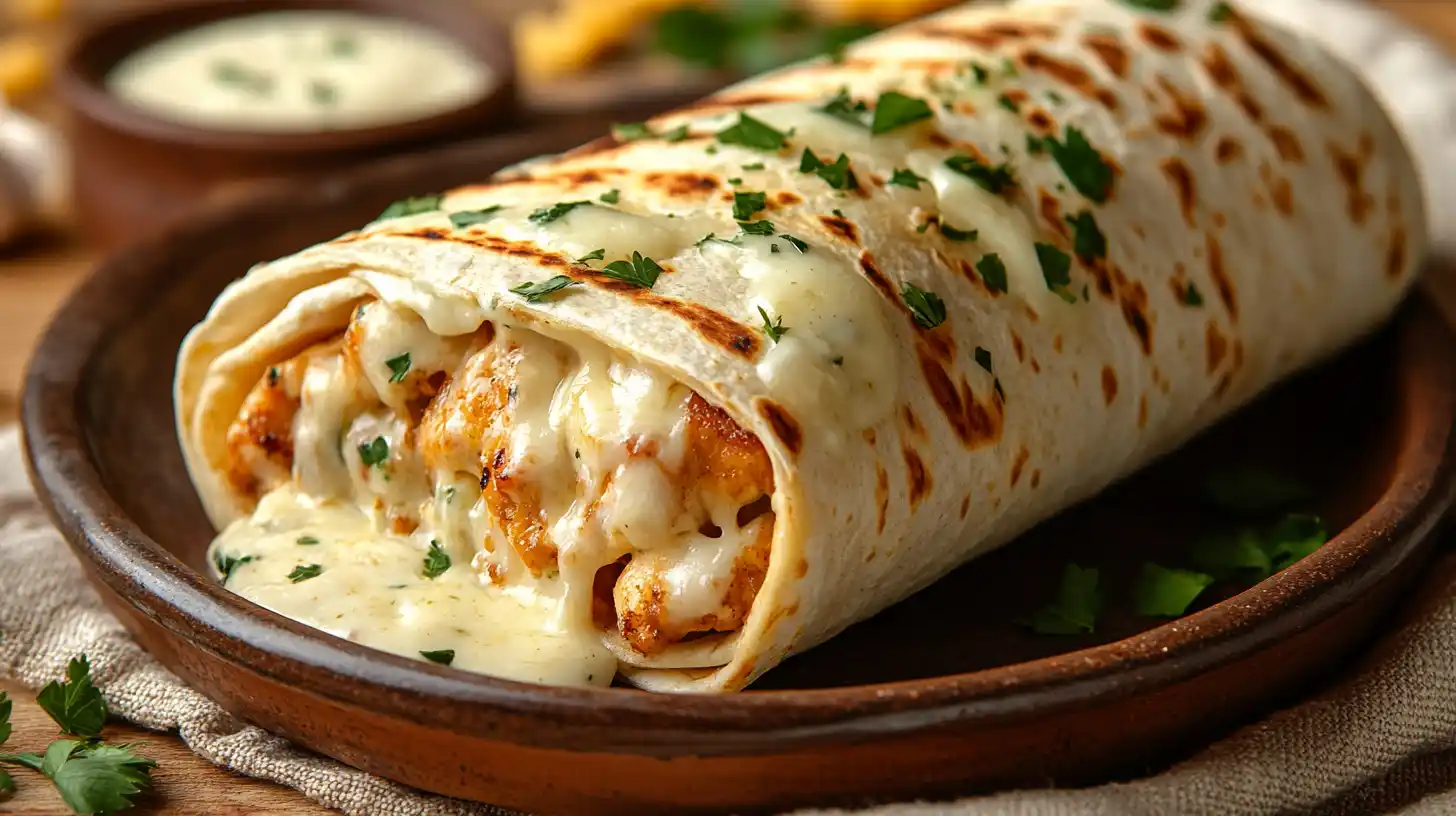
Are you in search of something quick, easy, and full of flavor? Cheesy garlic chicken wraps should be your go-to meal. Packed with juicy chicken, melty cheese, and an irresistibly garlicky twist, they provide the ideal balance of indulgence and simplicity. Whether feeding a crowd, prepping for work meals, or whipping up family dinner – this versatile and utterly satisfying recipe makes life simpler. We will walk through every step from selecting appropriate ingredients to creative serving suggestions – ready to upgrade your wrap game? Let’s do this!
Why Cheesy Garlic Chicken Wraps Are the Ultimate Comfort Food
What Makes These Wraps So Special?
Cheesy garlic chicken wraps aren’t just an easy and quick recipe; they’re comfort food at its finest! Combining creamy cheese with garlicky flavors and tender chicken creates an unrivaled combination. Plus, wraps are versatile enough for breakfast, lunch or dinner use!
These delicious wraps are an easy, satisfying dinner option that’s great for casual gatherings or simply cuddling on the couch. Thanks to simple pantry ingredients, they come together quickly!
Why Garlic and Cheese Work So Well Together
Garlic and cheese make an irresistibly delicious combination, offering earthy notes balanced by subtle heat from garlic that counterbalance its richness. When combined with succulent chicken, these flavors combine for an experience that is both hearty and irresistibly good; add in crispy tortilla wraps for an additional delicious crunch!
Essential Ingredients for the Perfect Cheesy Garlic Wrap
The Must-Have Ingredients for Flavor Perfection
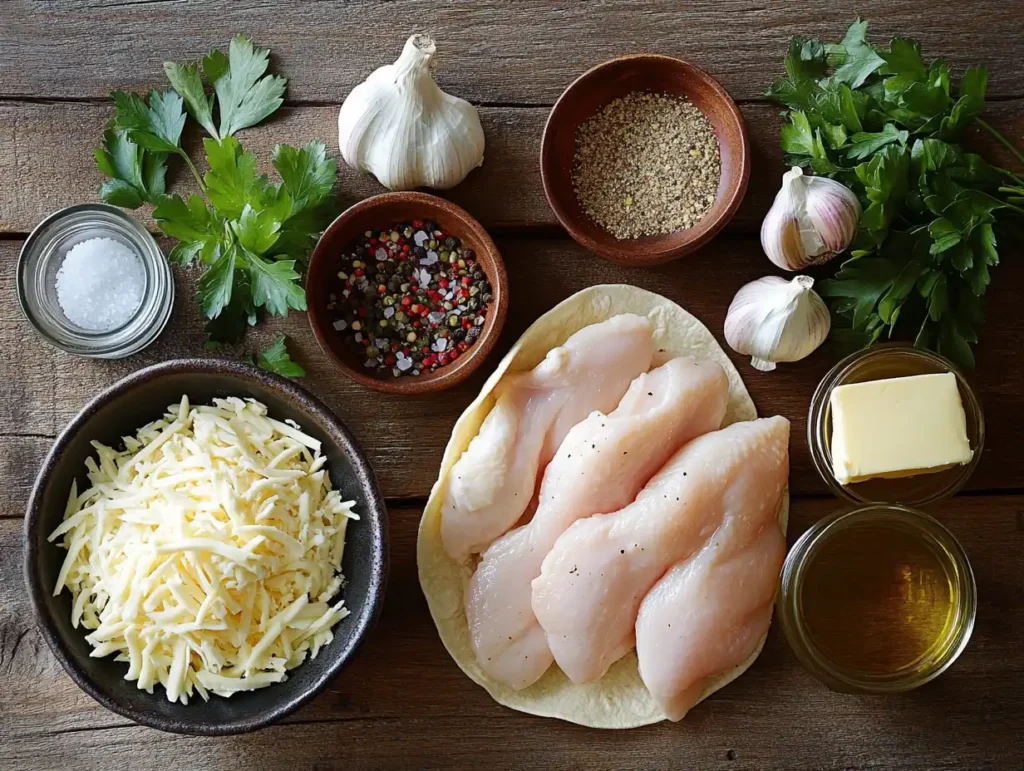
To make the cheesiest, garlickiest chicken wraps, you’ll need a handful of simple yet flavorful ingredients. Here’s what you’ll need to bring this dish to life:
- Chicken: Opt for boneless, skinless chicken breasts or thighs. Thighs tend to be juicier, while breasts are leaner.
- Cheese: Shredded mozzarella or cheddar works wonderfully, but feel free to experiment with a blend of cheeses for added richness.
- Garlic: Fresh minced garlic is ideal, but garlic powder can work in a pinch.
- Tortillas: Choose soft, large tortillas for easy wrapping.
- Butter or Oil: For sautéing the garlic and crisping the wraps to golden perfection.
- Seasonings: Salt, pepper, paprika, and a dash of Italian herbs for a flavor boost.
- Optional Add-Ins: Chopped fresh parsley, diced tomatoes, or even a drizzle of ranch dressing for an extra kick.
Why Quality Ingredients Matter
Making delicious cheesy garlic chicken wraps begins with selecting premium ingredients. Fresh garlic adds an irresistibly fragrant aroma that powdered alternatives simply can’t match, while high-grade cheese melts effortlessly for that irresistibly gooey texture that leaves every bite unforgettable. Finally, perfectly-seasoned chicken ensures every bite will be unforgettable.
Step-by-Step Guide to Cooking Juicy Chicken for Wraps
The Secret to Perfectly Cooked Chicken
At the core of every delicious cheesy garlic chicken wrap is perfectly-cooked chicken. Follow this foolproof method to ensure every bite is tender and flavorful:
1. Prep the Chicken
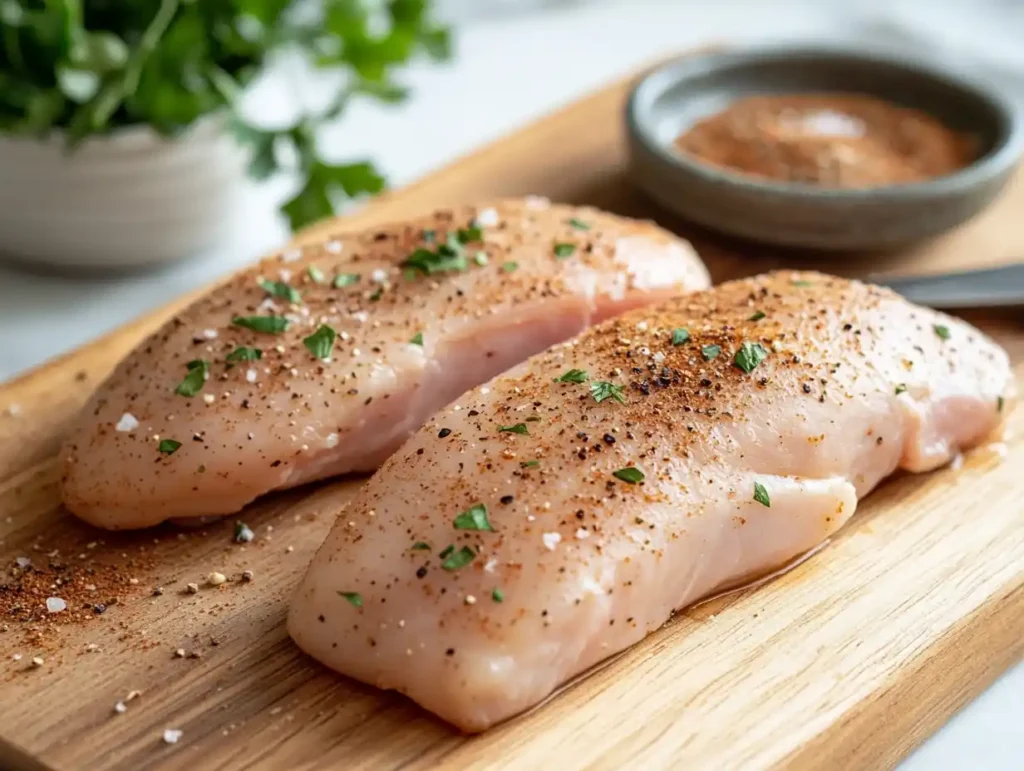
Begin by patting your chicken dry with a paper towel to remove excess moisture, which allows seasonings to adhere more securely. Generously coat each chicken breast in salt, pepper, paprika and Italian herbs – allow to sit in for 10-15 minutes so the flavors have time to develop – then enjoy!
2. Cook It Right
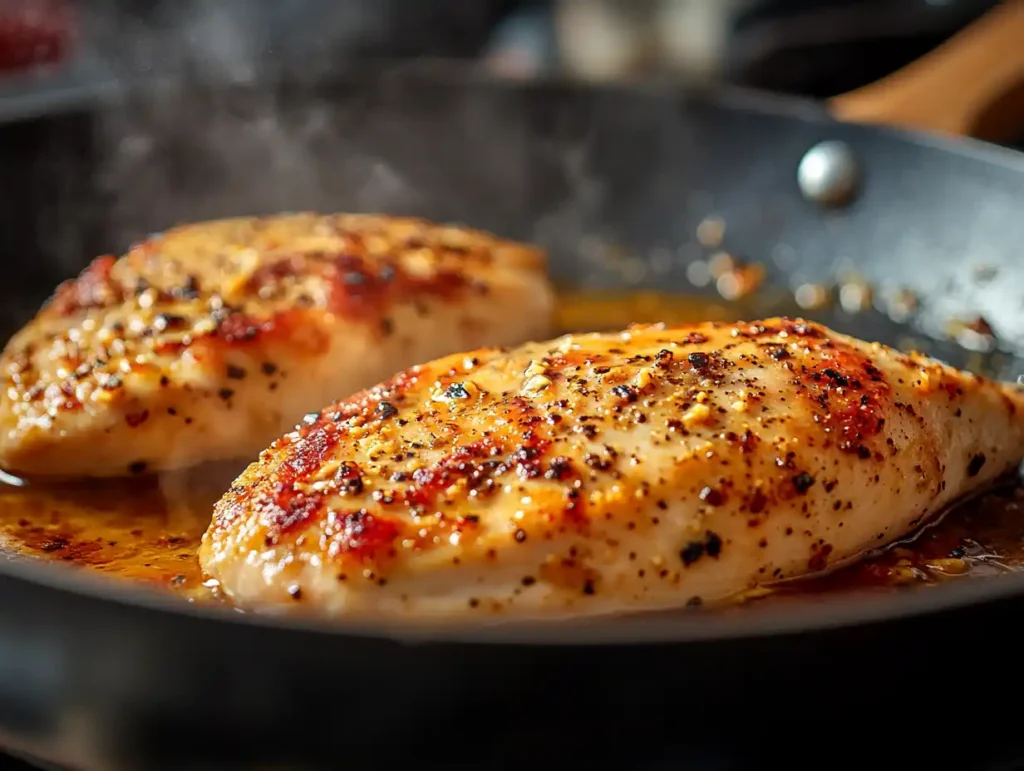
Heat a skillet over medium-high heat and add one tablespoon of either butter or oil, once hot add your chicken and season as you see fit – allow 6-8 minutes per side, depending on thickness, until golden brown and cooked through (use a meat thermometer if necessary for accuracy of results 165degF/75degC is ideal).
3. Let It Rest and Slice
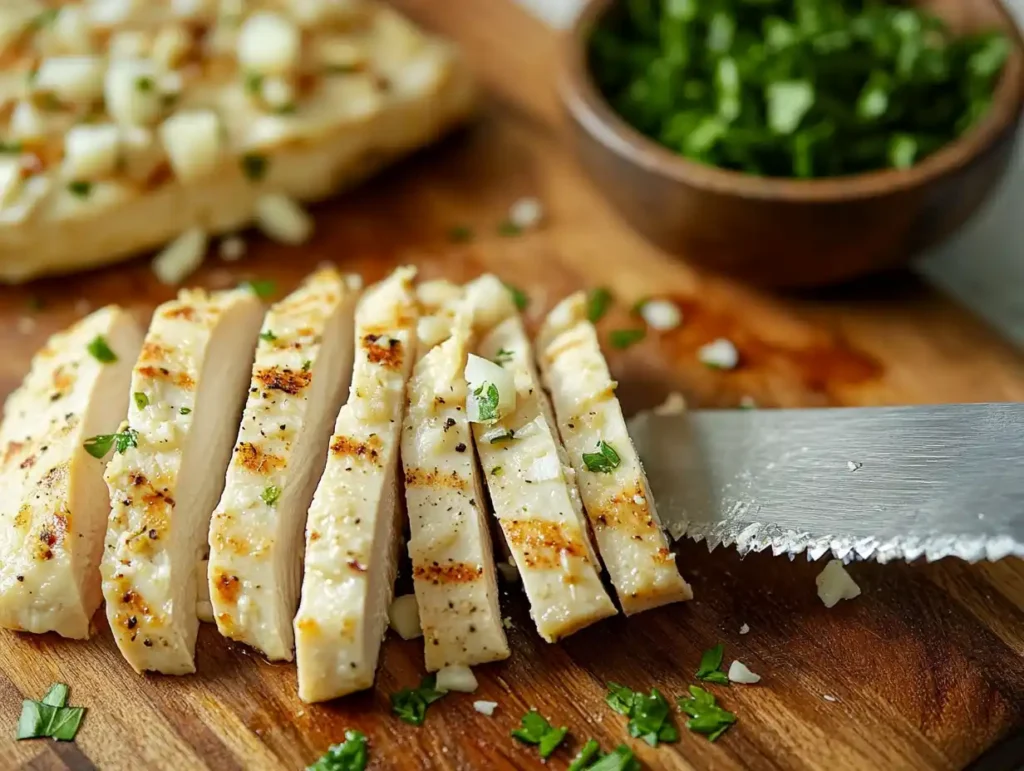
Once cooked, allow the chicken to rest for 5 minutes after it has been removed from the heat before cutting into thin strips or cubes according to your preferred style. Allowing time allows juices to redistribute evenly across the meat surface and keeps the meat moist. Slice according to preference – thin strips for thin strips or cubes depending on what works for you!
Tips for Extra Flavor
- Marinate for More Depth: Marinate the chicken with yogurt, garlic, and a squeeze of lemon juice for at least 30 minutes for extra tenderness and tanginess.
- Add Garlic During Cooking: Toss minced garlic into the skillet during the last few minutes of cooking for a fragrant, garlicky punch.
Now your chicken is ready to be transformed into delicious cheesy garlic chicken wraps!
How to Assemble the Perfect Cheesy Garlic Chicken Wrap
Building the Ultimate Wrap
With your juicy chicken ready, it’s time to assemble your cheesy garlic chicken wraps. This step is where all the magic comes together—layering flavors for a mouth-watering meal.
1. Prep Your Tortilla
Start with a large, soft tortilla. For best results, warm it in a dry skillet or microwave for a few seconds to make it pliable. This prevents tearing when you wrap.
2. Layer the Cheese
Spread a generous layer of shredded cheese (mozzarella, cheddar, or a blend) on the tortilla. Place it slightly off-center so you have space to fold later. The cheese acts as a “glue” to hold everything together once melted.
3. Add the Chicken
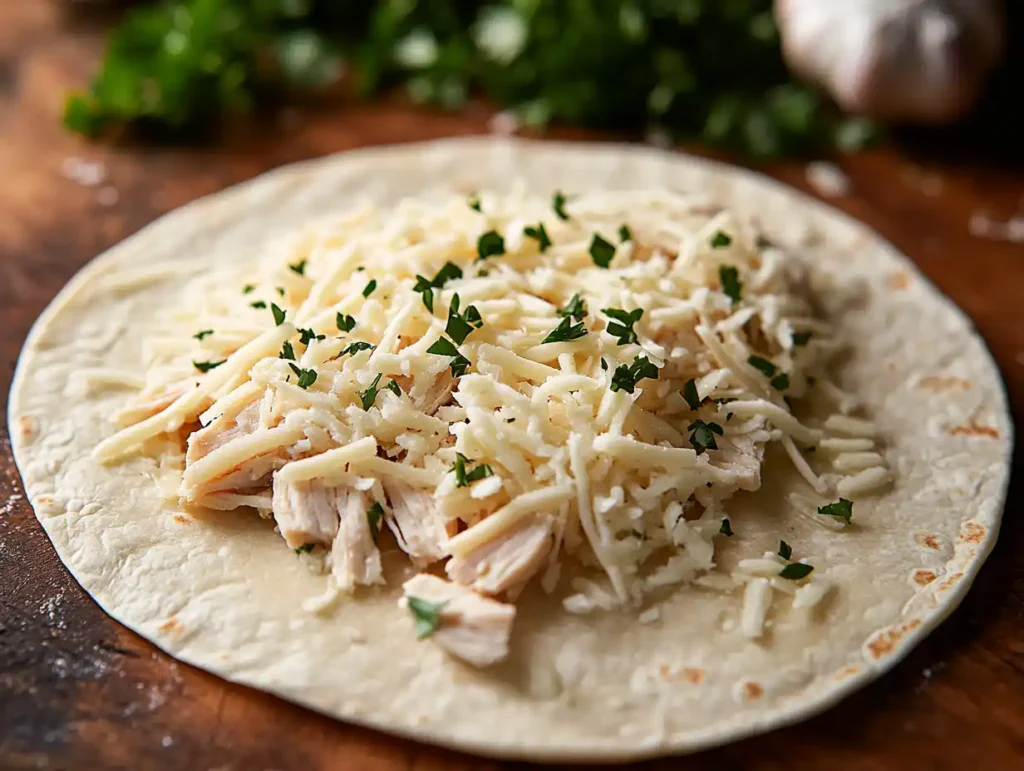
Top the cheese with your cooked, seasoned chicken. Distribute the pieces evenly to ensure every bite is filled with flavor.
4. Sprinkle on Garlic and Extras
Sprinkle a small amount of freshly minced garlic for an extra burst of flavor. If desired, add extras like chopped parsley, diced tomatoes, or a drizzle of ranch dressing to enhance the taste.
5. Roll It Up
Fold the sides of the tortilla inward, then roll tightly from the bottom to create a compact wrap. Make sure the ends are tucked in securely to avoid any delicious filling spilling out.
Why the Assembly Process Matters
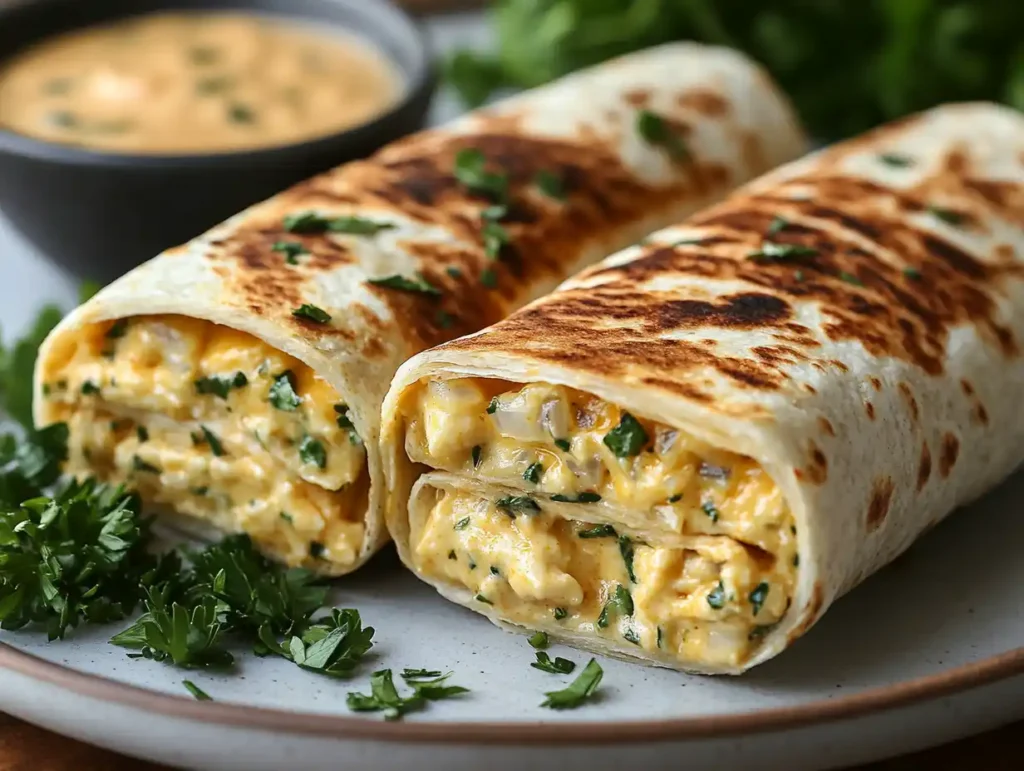
A well-assembled wrap isn’t just about aesthetics—it’s about creating a balance of flavors in every bite. The distribution of chicken, cheese, and garlic ensures the perfect taste and texture from start to finish.
Tips for Getting Your Wraps Crispy and Delicious
The Secret to Perfect Crispiness
One of the best things about cheesy garlic chicken wraps is the crispy outer layer that adds texture and elevates the flavor. Here’s how to achieve that golden, crunchy perfection every time:
1. Use the Right Heat
Heat a non-stick skillet over medium heat. Add a small amount of butter or oil to coat the surface lightly. The key is maintaining a steady, moderate heat to crisp the tortilla without burning it.
2. Place the Wrap Seam-Side Down
Start by placing the wrap seam-side down in the skillet. This step ensures the wrap stays securely closed as it crisps. Cook for 2-3 minutes on each side until golden brown.
3. Press Down Gently
For even crisping, use a spatula to press the wrap gently against the skillet. This helps achieve that delightful crunch while keeping the filling evenly heated.
4. Use a Panini Press (Optional)
For a café-style touch, cook your wraps in a panini press or sandwich maker. This method evenly crisps the tortilla while melting the cheese to perfection.
Pro Tips for the Best Results
- Butter for Flavor: Butter adds a richer taste compared to oil, but you can use olive oil for a lighter option.
- Cheese Placement: Ensure the cheese touches the tortilla slightly—it melts and creates a delicious, golden crust.
- Keep an Eye on It: Don’t walk away! Tortillas can go from golden to burnt in seconds.
A crispy wrap not only tastes amazing but also holds its shape better, making it easier (and cleaner) to eat.
Best Storage Tips for Leftover Chicken Wraps
Keeping Your Wraps Fresh and Delicious
Sometimes, you make more cheesy garlic chicken wraps than you can eat in one sitting. Don’t worry—storing leftovers is easy, and with the right steps, you can keep them fresh and tasty for later.
1. Cool Completely Before Storing
Before you store your wraps, let them cool to room temperature. Storing hot wraps can create condensation, which makes the tortillas soggy.
2. Wrap Them Up
Wrap each leftover wrap tightly in aluminum foil or plastic wrap. This helps retain moisture in the filling while preventing the tortilla from drying out.
3. Refrigerate or Freeze
- Refrigerate: For short-term storage, place the wrapped wraps in an airtight container and refrigerate. They’ll stay fresh for up to 3 days.
- Freeze: For longer storage, freeze the wraps. Use a freezer-safe bag or container, and they’ll keep well for up to 2 months.
4. Reheat Properly
- Microwave: For a quick reheating option, remove any foil and microwave the wrap for 1-2 minutes. While convenient, this method may soften the tortilla.
- Skillet: Reheat in a skillet over medium heat to restore the crispy texture.
- Oven: Wrap in foil and bake at 350°F (175°C) for 10-12 minutes to heat evenly without drying out.
Pro Tip for Freezing
If you’re planning to freeze wraps, avoid adding fresh ingredients like tomatoes or lettuce before freezing—they tend to lose their texture. Instead, add them fresh after reheating.
Creative Variations for Cheesy Garlic Chicken Wraps
Add Your Twist
One of the many great aspects of cheesy garlic chicken wraps is their adaptability; you can tailor them to meet your individual tastes or try new flavors for something exciting and different. Here are a few variations to get your creative juices flowing:
1. Spicy Buffalo Chicken Wraps
Swap the garlic for a splash of buffalo sauce. Toss the chicken in the sauce before assembling the wrap, and add a drizzle of ranch or blue cheese dressing for a tangy kick.
2. Mediterranean-Inspired Wraps
Infuse a Mediterranean vibe by adding feta cheese, chopped olives, and a handful of spinach. Replace garlic with a sprinkle of oregano and a squeeze of lemon juice.
3. BBQ Chicken Wraps
For a smoky twist, coat the chicken with your favorite barbecue sauce and use smoked gouda cheese. Add a few slices of red onion for extra flavor.
4. Veggie-Packed Wraps
Make it vegetarian by swapping chicken for sautéed mushrooms, bell peppers, and zucchini. Use plenty of garlic and cheese to keep the flavors bold.
5. Breakfast Wraps
Transform your wrap into a hearty breakfast by replacing chicken with scrambled eggs and bacon. Add garlic-infused cream cheese and a sprinkle of cheddar.
6. Asian-Inspired Wraps
Replace the cheese with a drizzle of soy sauce and sesame oil. Add shredded carrots, cabbage, and a sprinkle of green onions for a fresh, crunchy texture.
Why Variations Work
Customizing cheesy garlic chicken wraps allows you to cater to different preferences and dietary needs while keeping the recipe exciting. Whether you’re spicing things up or adding a global twist, the possibilities are endless.
Frequently Asked Questions About Cheesy Chicken Wraps
Everything You’ve Wanted to Know
Here are answers to some common questions about cheesy garlic chicken wraps. Whether you’re new to the recipe or looking to perfect it, these tips will help!
1. Can I Use Pre-Cooked Chicken?
Absolutely! Pre-cooked or rotisserie chicken is a great time-saver. Simply shred or chop it and toss it with garlic and seasonings before assembling the wraps.
2. What’s the Best Cheese for This Recipe?
Mozzarella and cheddar are top choices for their meltability, but you can experiment with other cheeses like gouda, Monterey Jack, or even cream cheese for added creaminess.
3. Can I Make These Wraps Gluten-Free?
Yes! Use gluten-free tortillas, which are readily available in most grocery stores. Make sure to check the seasonings and other ingredients to ensure they’re also gluten-free.
4. How Do I Keep the Wraps from Falling Apart?
To prevent your wraps from unraveling, ensure they’re rolled tightly and place them seam-side down when cooking. This helps seal the edges as they crisp.
5. Can I Freeze Cheesy Garlic Chicken Wraps?
Yes, these wraps freeze well! Wrap each one tightly in foil or plastic wrap before freezing. When ready to eat, thaw in the fridge overnight and reheat in a skillet or oven for best results.
6. What Can I Serve with These Wraps?
These wraps pair wonderfully with fresh salads, roasted veggies, or even crispy sweet potato fries. For a lighter option, serve them with a side of fresh fruit or yogurt.
7. Can I Add Extra Ingredients?
Definitely! These wraps are highly versatile. Try adding sautéed onions, bell peppers, or even avocado slices for an extra twist.
Cheesy garlic chicken wraps are the perfect combination of flavor, convenience, and versatility. Whether you’re whipping them up for a quick meal, customizing them for your tastes, or prepping ahead for the week, these wraps are sure to impress. Packed with juicy chicken, gooey cheese, and a garlicky punch, they’re a crowd-pleaser for any occasion.
If you’re a fan of all things cheesy and garlicky, don’t miss this recipe for cheesy garlic bread. It’s the ultimate side dish to complement your wraps or enjoy on its own!
Get creative with your wraps, and let every bite be a burst of flavor. Happy cooking! 🍴
Recipe: Cheesy Garlic Chicken Wraps
Ingredients
- 2 boneless skinless chicken breasts (about 1 lb)
- 1 cup shredded mozzarella cheese
- 2 large tortillas
- 3 garlic cloves minced
- 1 tbsp butter or olive oil
- 1 tsp paprika
- 1 tsp Italian seasoning
- Salt and pepper to taste
- Optional: fresh parsley diced tomatoes, or a drizzle of ranch dressing
Instructions
- Prepare the Chicken
- Pat the chicken dry and season with paprika, Italian seasoning, salt, and pepper.
- Heat a skillet over medium heat with butter or olive oil. Cook the chicken for 6-8 minutes on each side until fully cooked (internal temperature of 165°F/75°C). Let rest for 5 minutes, then slice into thin strips.
- Assemble the Wraps
- Warm the tortillas in a dry skillet or microwave to make them pliable.
- Spread a layer of shredded mozzarella on each tortilla, then top with the sliced chicken. Sprinkle with minced garlic and any optional toppings.
- Crisp the Wraps
- Roll the tortillas tightly, folding the sides inward. Place them seam-side down in a skillet over medium heat. Cook for 2-3 minutes per side until golden brown and crispy.
- Serve and Enjoy
- Slice the wraps in half and serve hot with your favorite dipping sauces like ranch, garlic aioli, or marinara.
Notes
- Use pre-cooked chicken for a quicker version.
- Add fresh veggies like spinach or bell peppers for extra crunch.
- Swap mozzarella for cheddar or a cheese blend for a different flavor profile.

