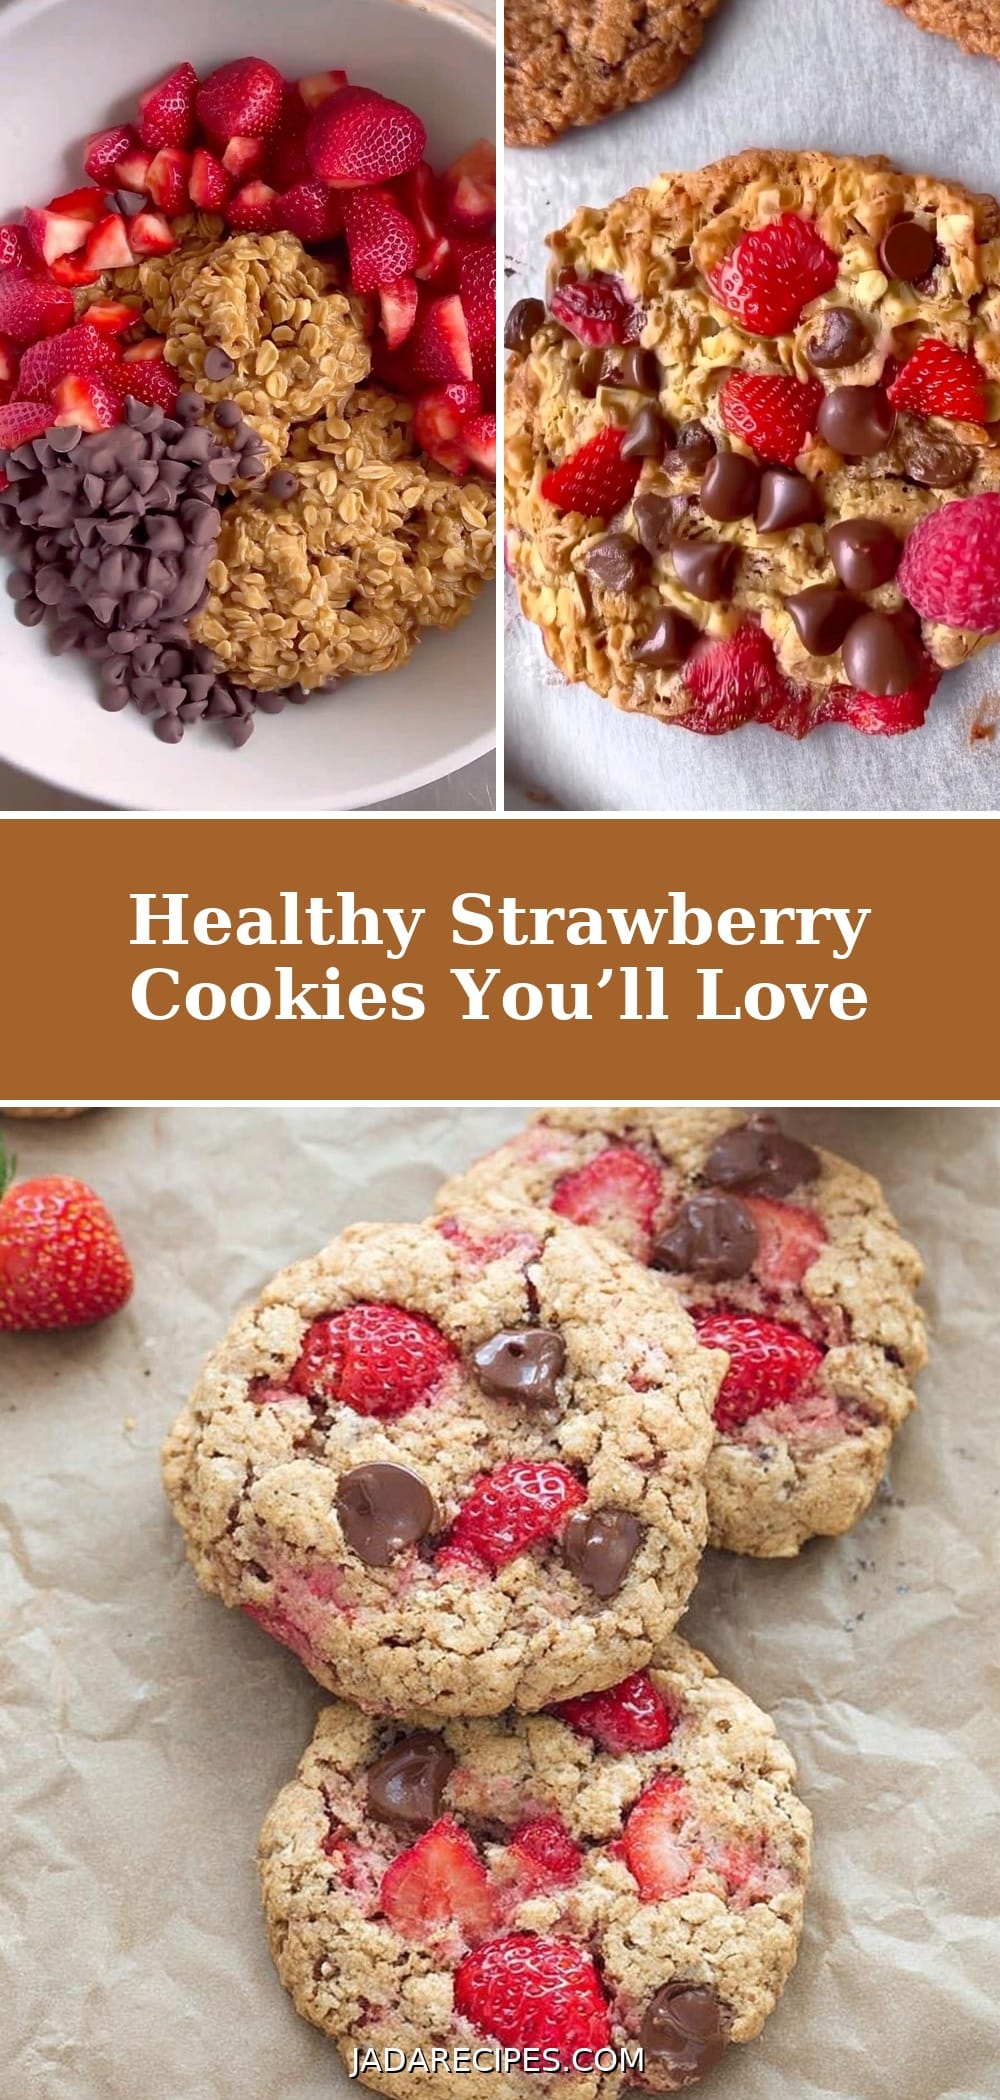
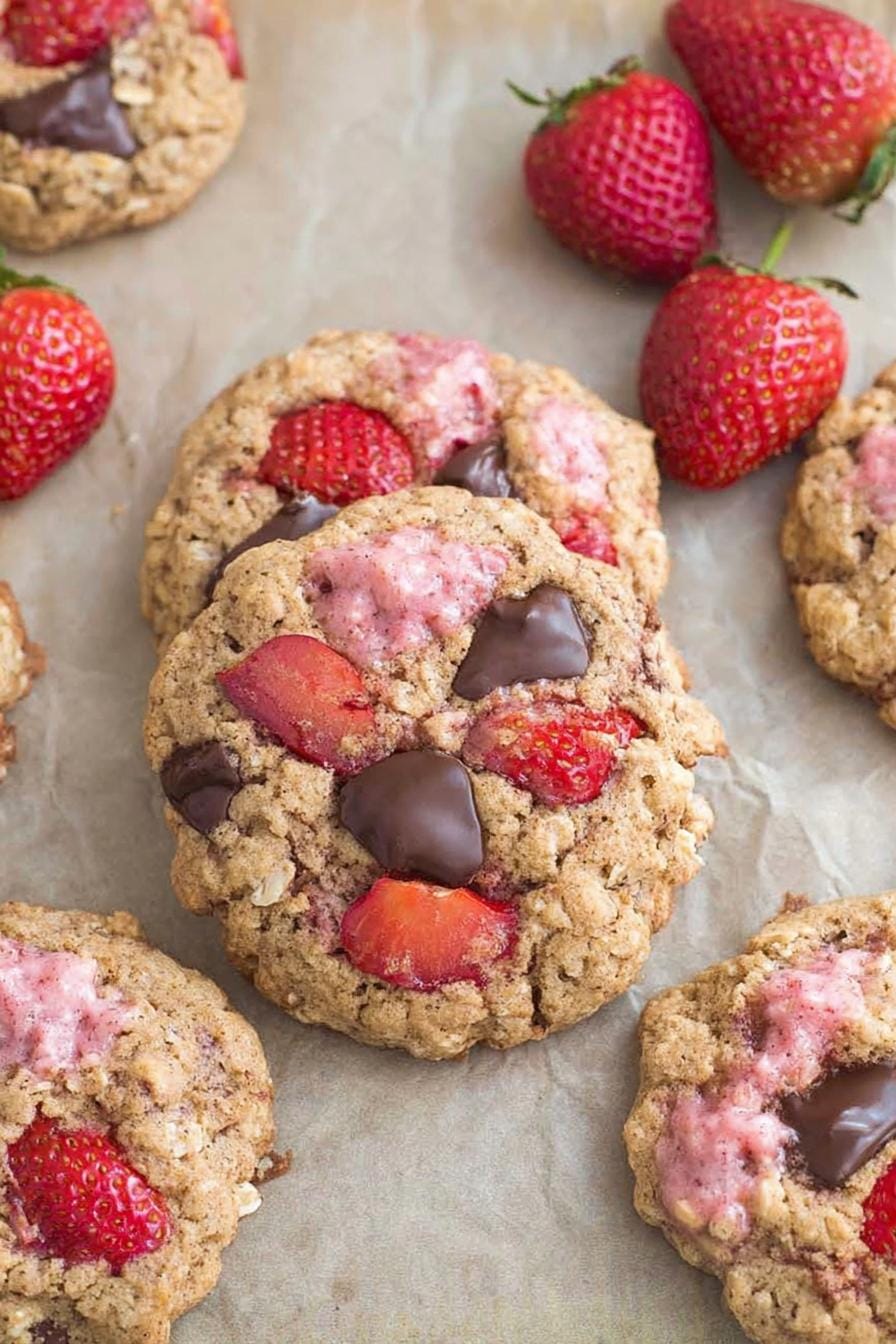
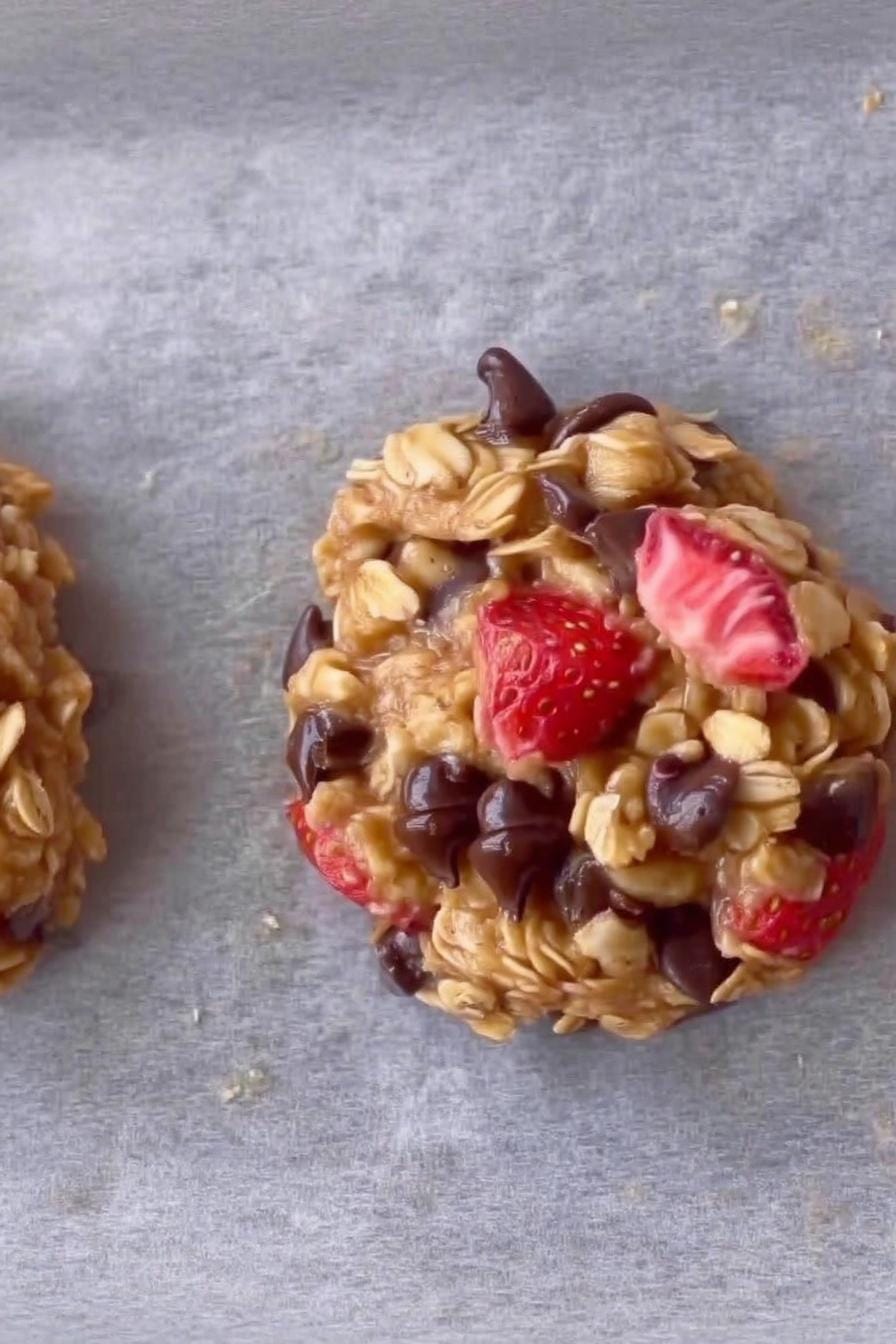
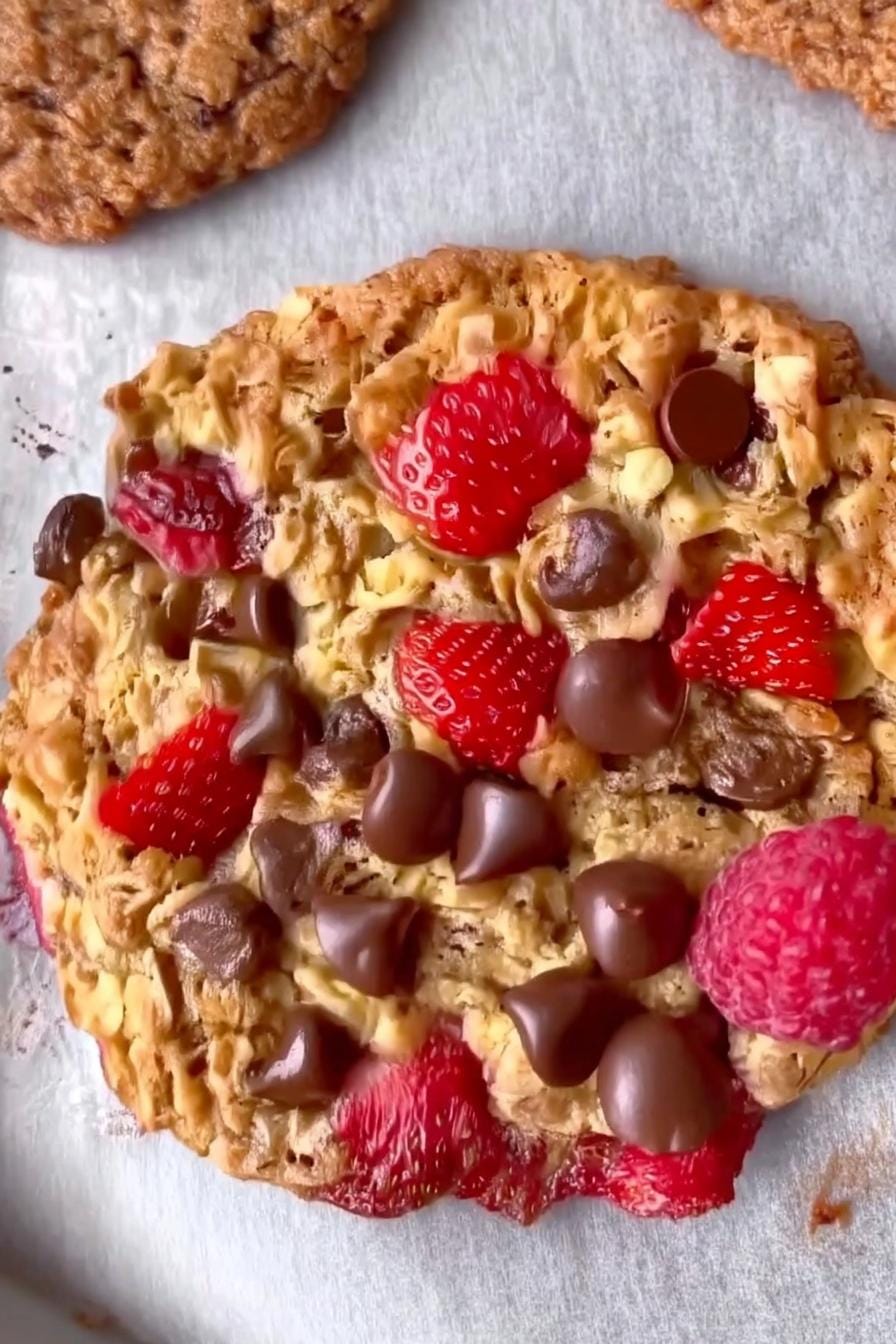
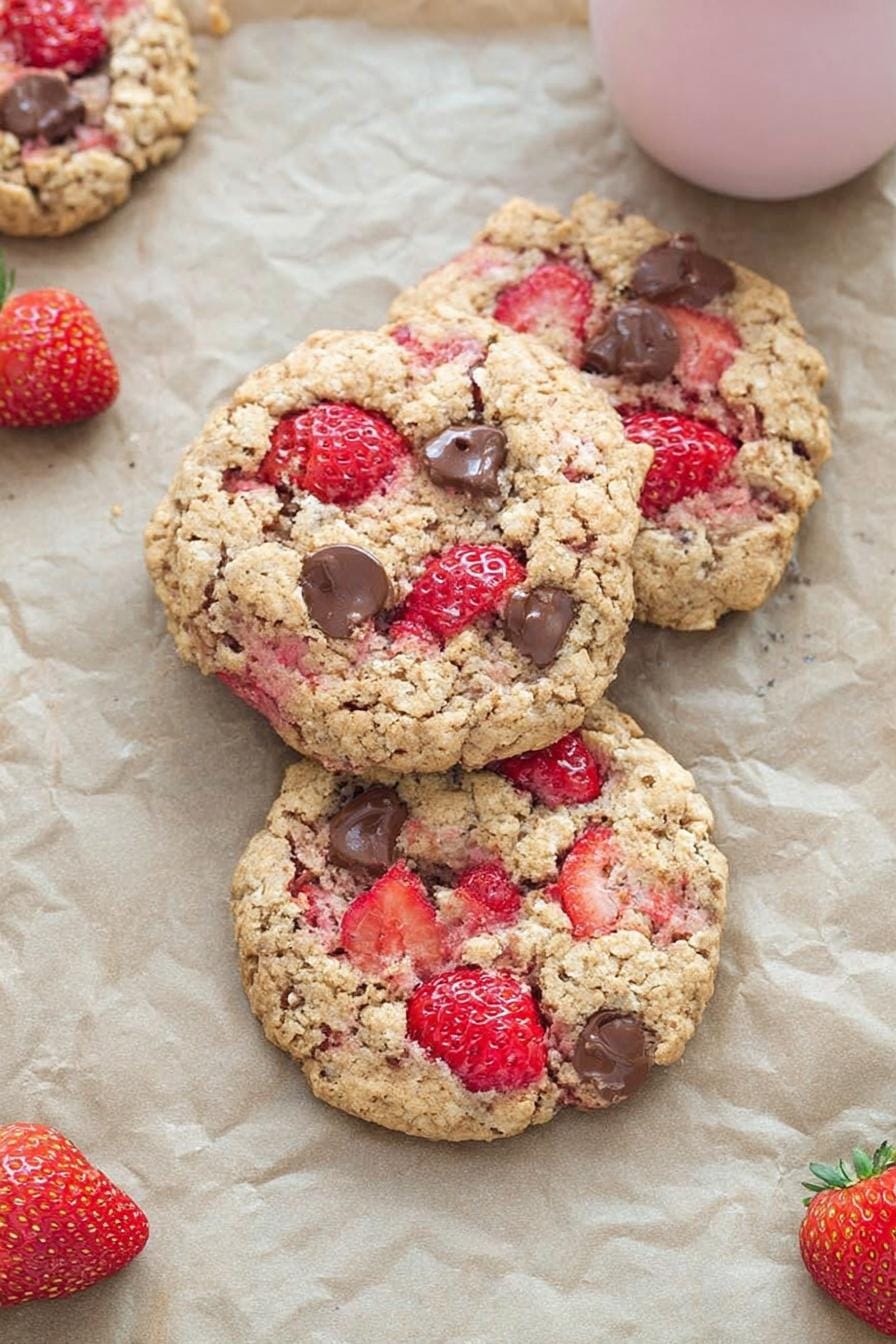
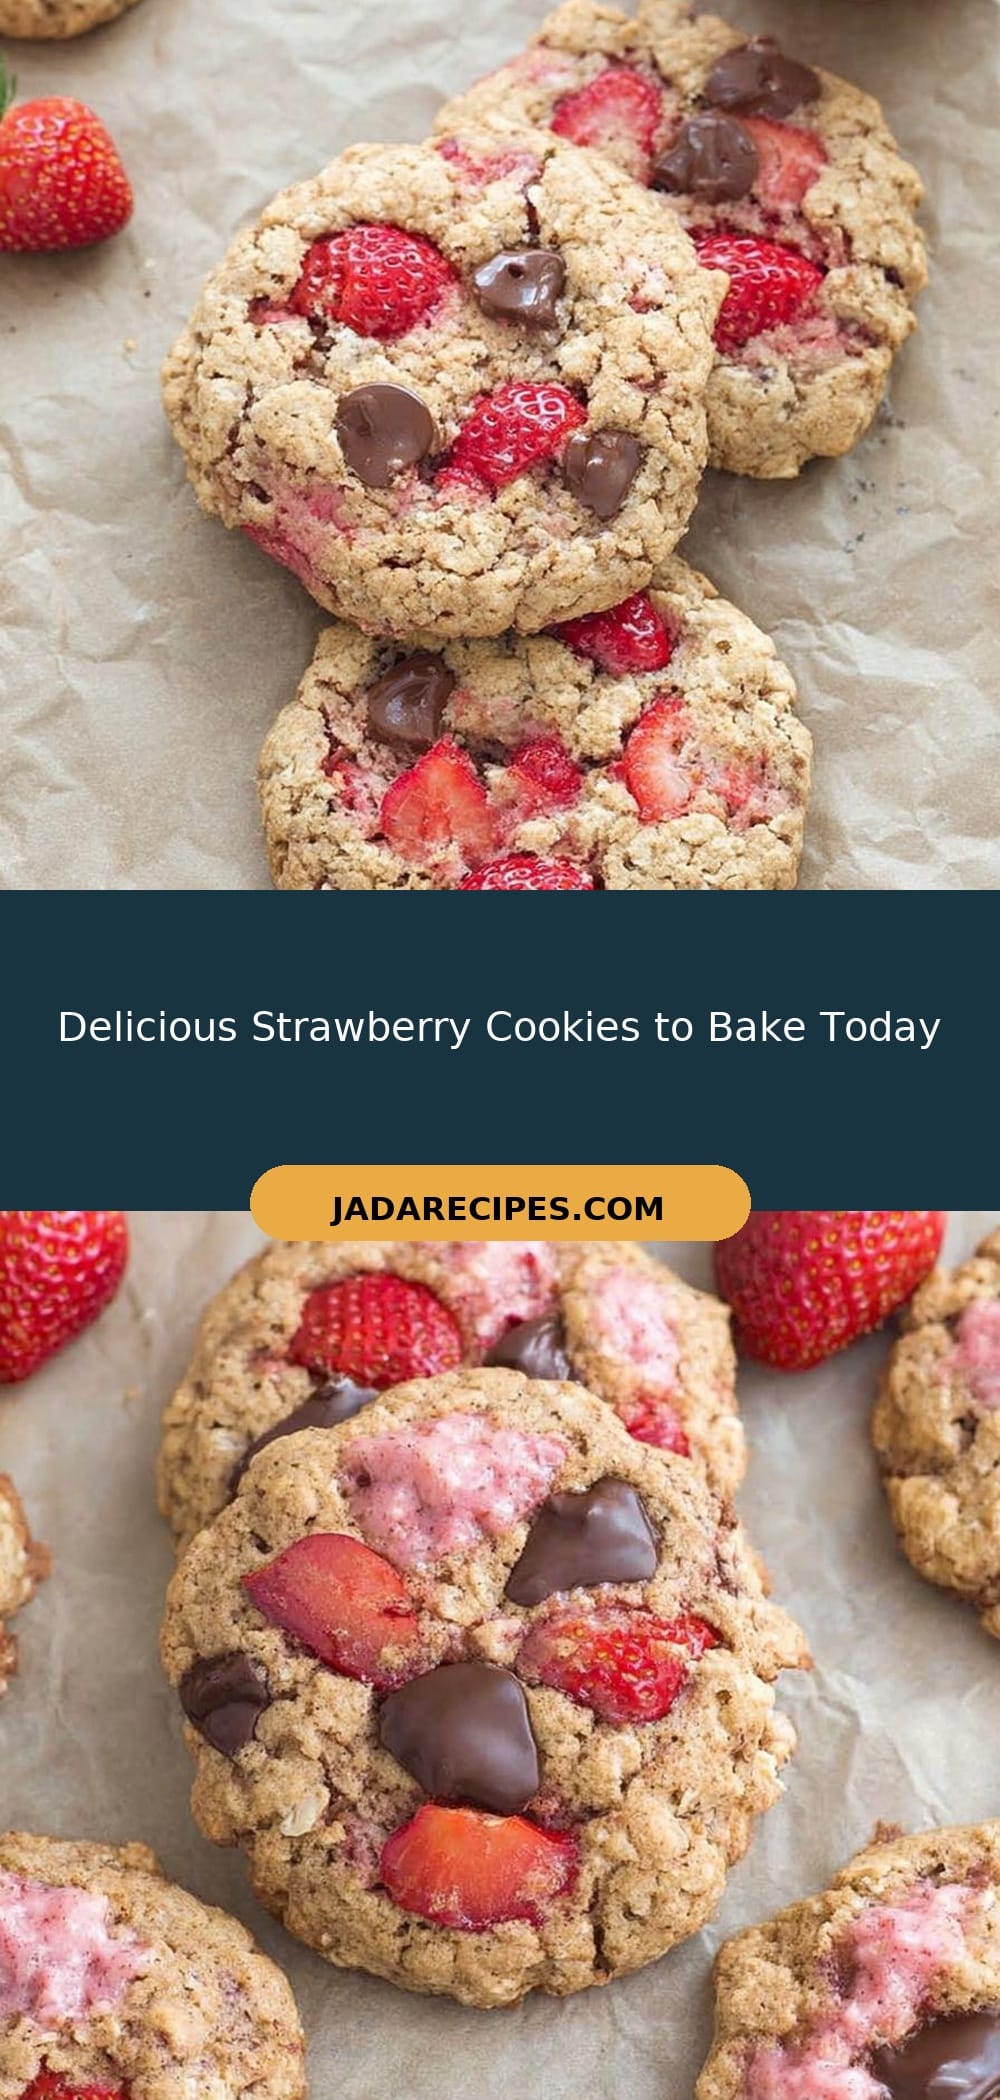
Imagine taking a bite of a warm, soft cookie bursting with the taste of freshly picked strawberries. That’s the joy of my Strawberry Cookies! After multiple experiments in my kitchen, I’ve discovered the best ratios and techniques for achieving a perfectly chewy, strawberry-infused treat. Each batch brought new insights into texture and flavor, and I can’t wait to share them with you. For more fruity delights, check out my Blueberry Protein Muffins.
About Strawberry Cookies
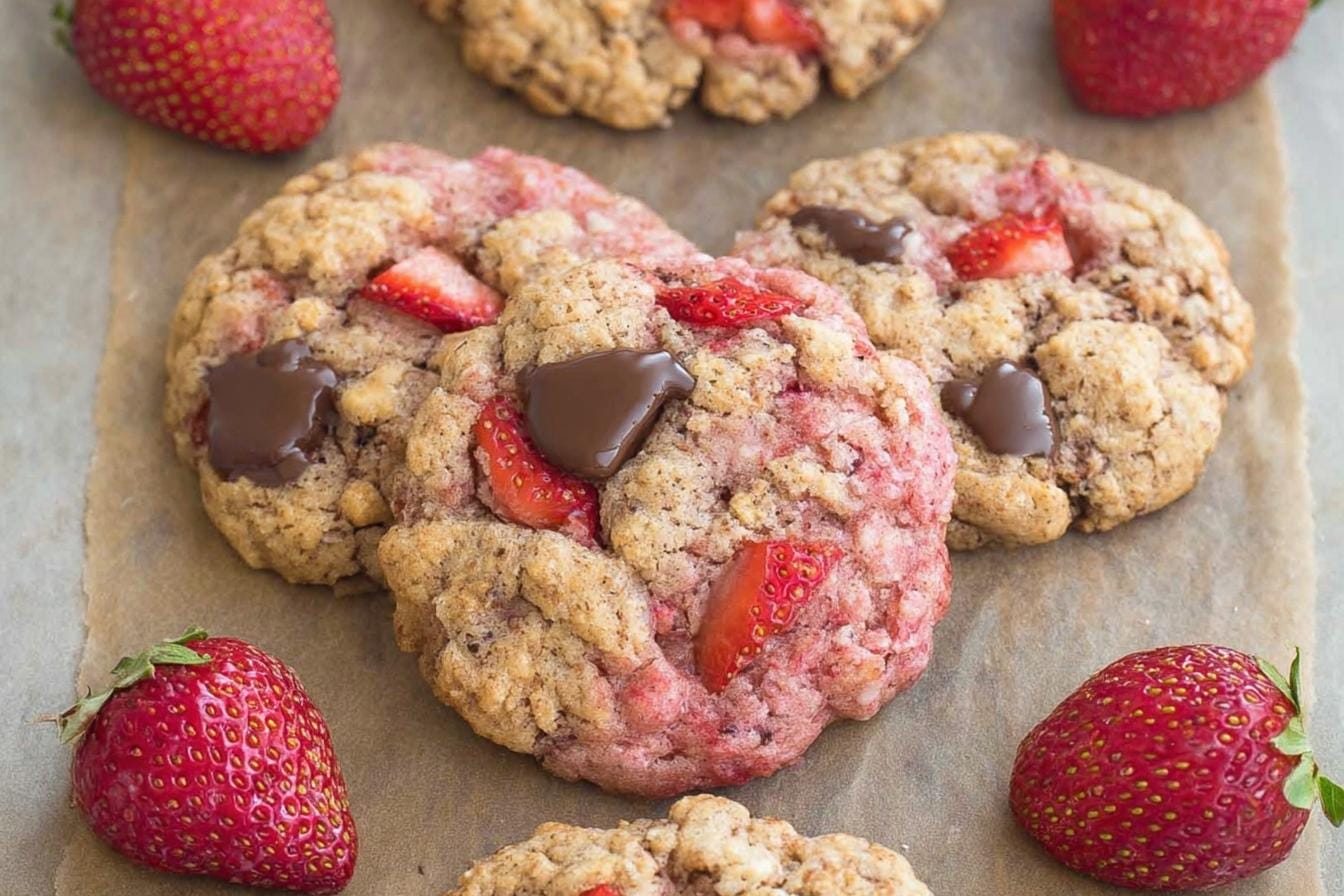
These Strawberry Cookies bring the essence of summer into your kitchen, whenever you need a sweet indulgence. Through various testing sessions, I found the right balance of strawberry flavor, sweetness, and chewiness. This recipe is a testament to how simple ingredients can create delightful moments, whether for family gatherings or solitary enjoyment. Strawberry season isn’t the only time to bake these; they’re perfect all year round!
- Quick prep time makes them perfect for last-minute cravings.
- Budget-friendly ingredients ensure deliciousness without breaking the bank.
- Family favorite: kids and adults alike will love them!
- Strawberries are rich in vitamin C and antioxidants, adding a nutritious touch to your treat.
Key Ingredients & Their Roles
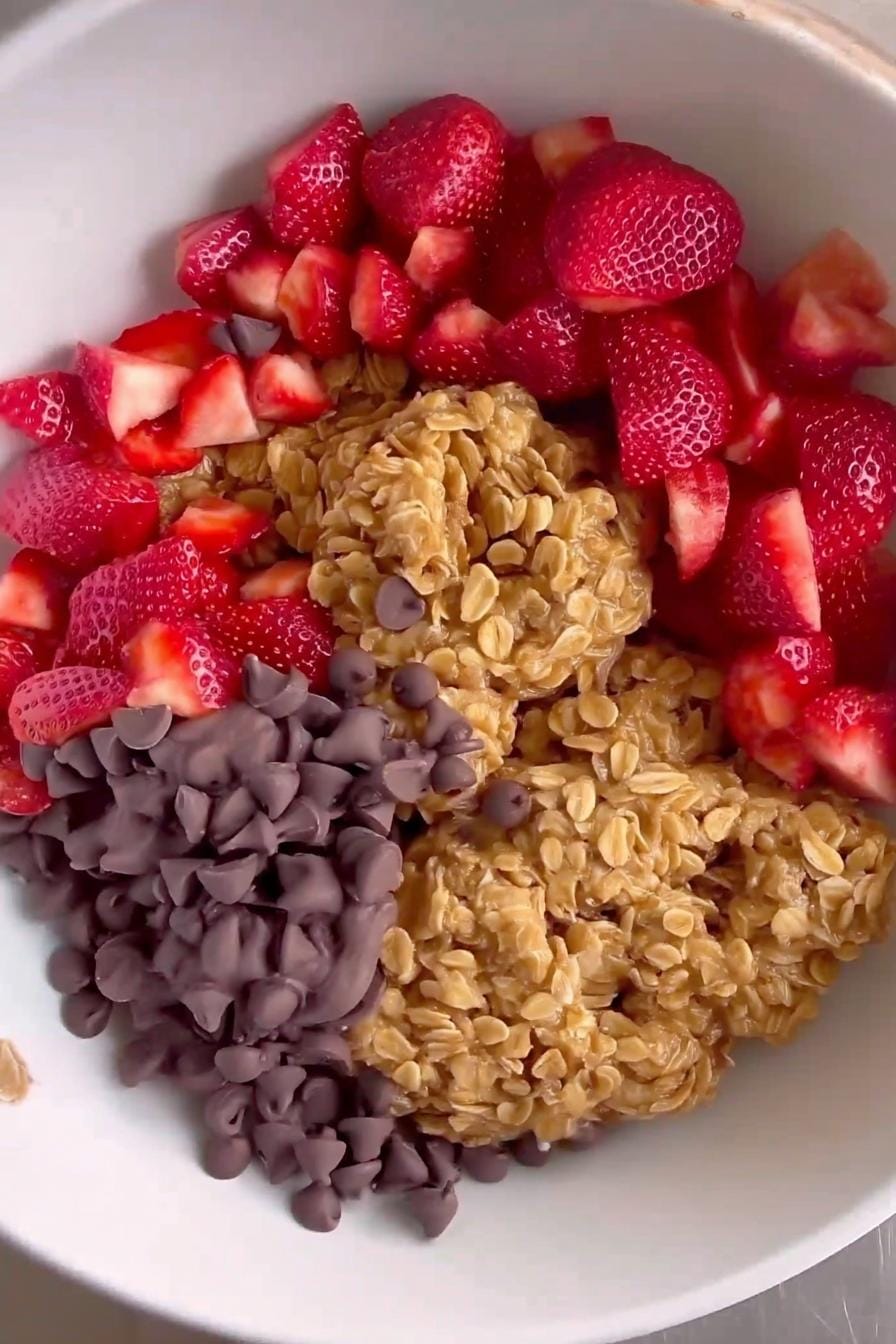
- Fresh Strawberries: provide flavor and moisture; opt for ripe ones for the best taste.
- Butter: adds richness; using unsalted allows for better control over saltiness.
- Granulated Sugar: sweetness and lightness; consider brown sugar for a deeper flavor.
- All-Purpose Flour: the base; for a gluten-free option, substitute with almond flour.
How to Make Strawberry Cookies
- Preheat your oven to 350°F (175°C) and line a baking sheet with parchment paper, creating a non-stick surface.
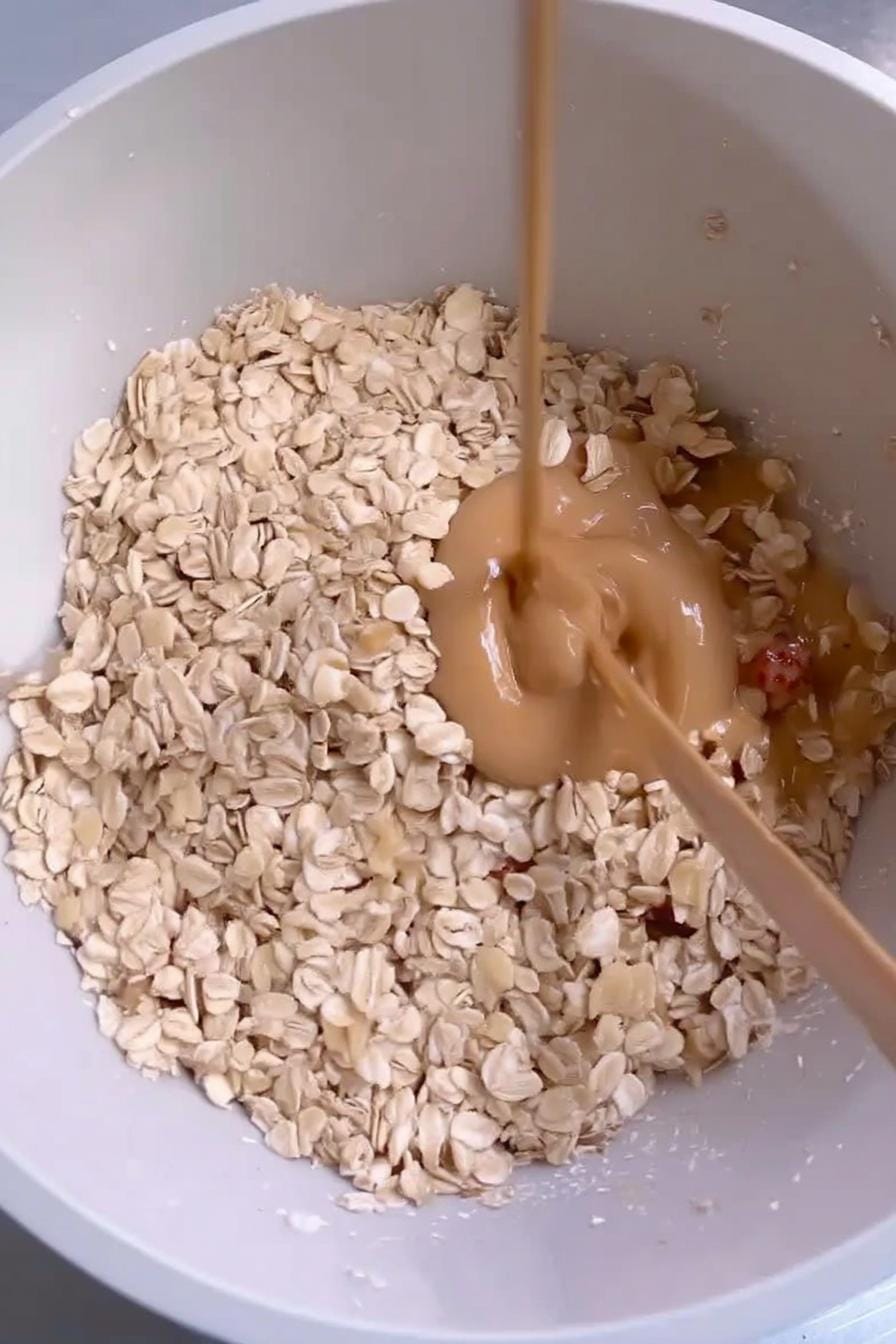
- In a mixing bowl, cream together ½ cup of softened butter and 1 cup of granulated sugar until light and fluffy, about 3–5 minutes, releasing a sweet aroma.
- Gently fold in 1 cup of diced fresh strawberries and 1 teaspoon of vanilla extract, ensuring even distribution without smashing the berries.
- Gradually add 2 cups of all-purpose flour, mixing until just combined; over-mixing can lead to dense cookies.
- Use a cookie scoop to drop dough onto the prepared baking sheet, leaving space for spreading. Bake for 12–15 minutes, or until the edges start to turn golden.
- Let cookies cool completely on a wire rack before enjoying with your favorite beverage.
Pro Tips & Troubleshooting
- Make sure your butter is at room temperature for easy creaming; it creates a better texture.
- A common mistake is over-mixing the dough; fold just until combined for softness.
- Try adding lemon zest for a bright flavor contrast with the strawberries.
- Scaling is easy; simply halve or double the ingredients for desired amounts.
Storage & Make-Ahead Guide
Store your Strawberry Cookies in an airtight container in the fridge for up to 5 days. You can freeze them for up to 3 months; just ensure they’re layered with parchment paper to prevent sticking. During testing, I found that freezing enhances the flavors, making them even more delicious when thawed.
Serving Suggestions
Serve these delightful cookies with a scoop of vanilla ice cream or alongside a fresh fruit salad. For more pairings, check out my Carrot Cake Oatmeal Cookies or Gilmore Girls Coffee Cake Cookies.
Frequently Asked Questions
- Can I use frozen strawberries? Yes, just thaw and drain excess moisture before using.
- How do I keep cookies soft? Store them in an airtight container to maintain moisture.
- Can I make these cookies gluten-free? Absolutely! Substitute with a gluten-free flour blend.
- What’s the best way to serve them? Enjoy warm with a glass of milk or fresh fruit.
- Can I add other mix-ins? Feel free to add chocolate chips or nuts for added texture.
Final Thoughts
I hope you enjoy baking and sharing these Strawberry Cookies as much as I do! They are a highlight in my kitchen, perfect for any occasion. Don’t forget to let me know how your cookies turn out; I’d love to hear your stories and any tweaks you made!
More Recipes You’ll Love
- Blueberry Protein Muffins – the sweetness of blueberries pairs well with strawberries.
- Zucchini Breakfast Cookies – a delightful cookie option for a balanced breakfast.
- Caramel Apple Blondies – a sweet treat that complements the fruity flavor of strawberries.
Dill Pickle Bread
Ingredients
- 1/2 cup sour cream if using gluten-free flour, add 1 extra tbsp of sour cream
- 1/2 cup vegetable oil
- 2 large eggs
- 1 tbsp granulated sugar
- 1 3/4 cups all-purpose flour can use gluten-free flour as well
- 1 1/4 tsps baking powder
- 3/4 tsp salt
- 1 tbsp pickle juice from the jar
- 1 cup diced dill pickles
- 1 cup shredded sharp cheddar cheese divided
- 1 tbsp dried dill
Instructions
- Preheat to 350°F. Line a 9×5-inch loaf pan with parchment or lightly grease so the loaf releases cleanly.
- In a large bowl, whisk sour cream, oil, eggs, and sugar until smooth and creamy.
- Add flour, baking powder, salt, and pickle juice. Stir until just combined. A few small streaks are fine.
- Gently fold in diced dill pickles, 1/2 cup cheddar, and dried dill so the mix stays airy.
- Scrape batter into the pan and smooth the top. Bake 35–40 minutes, until golden and a toothpick in the center comes out clean.
- Remove from the oven, sprinkle the remaining 1/2 cup cheddar over the top, and switch the oven to broil. Return the loaf for 3–5 minutes, watching closely, until the cheese melts and browns lightly.
- Let the bread cool completely in the pan so slices hold together neatly. Slice and serve.